Manage your projects
You can manage your sites/mobile apps in the Projects page of Kameleoon’s Admin section.
Projects page
To access the Projects page:
- Log in to your Kameleoon account.
- Click Admin > Projects.
Name your sites
You can assign a name to your site. To name a site:
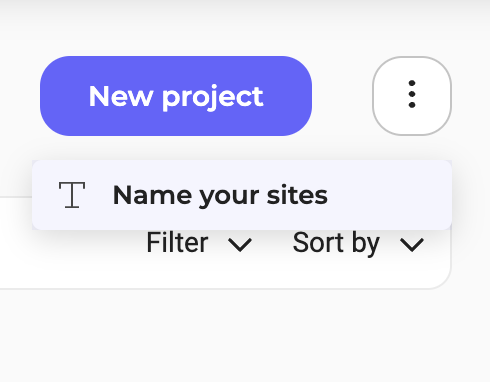
- Click the three-dots menu in the top right of the page.
- Click Name your sites. A sidebar will open.
- Enter a name for the site and save.
Search, filter, sort
A search bar, filtering, and sorting tools are available.
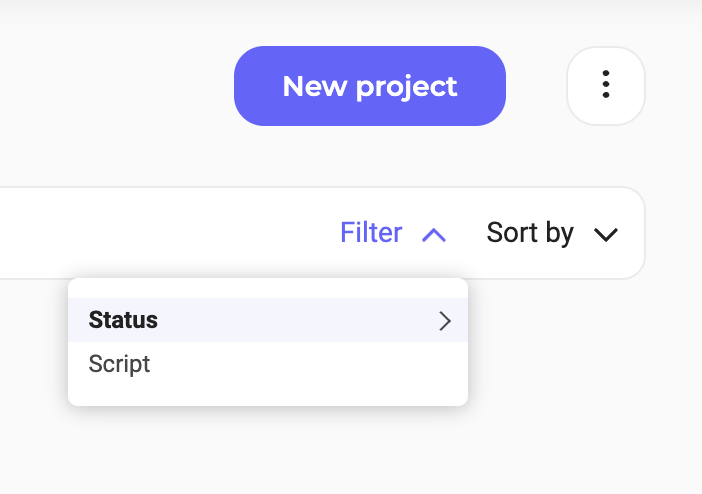
You can filter projects by status (Kameleoon enabled/disabled) or by script (script installed/not installed).
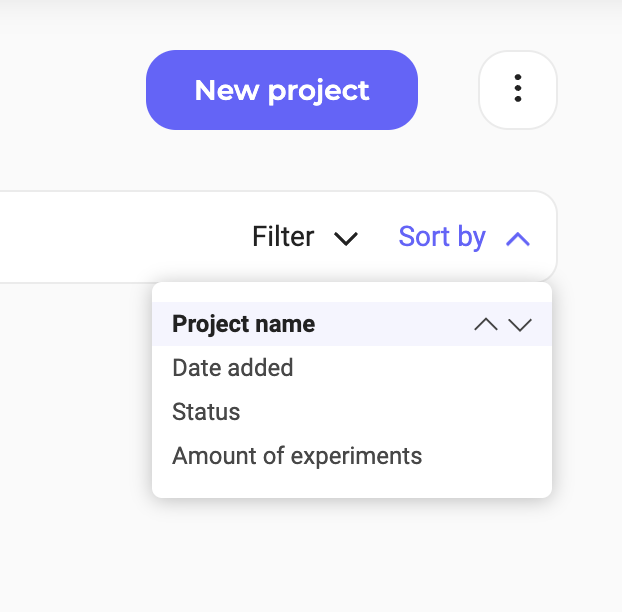
You can also sort projects by name, date added, status, or number of associated experiments. You can switch between ascending and descending order by clicking the arrows to the right.
Information and actions on a project
Information
Three sections of information are accessible from your project's identification card.
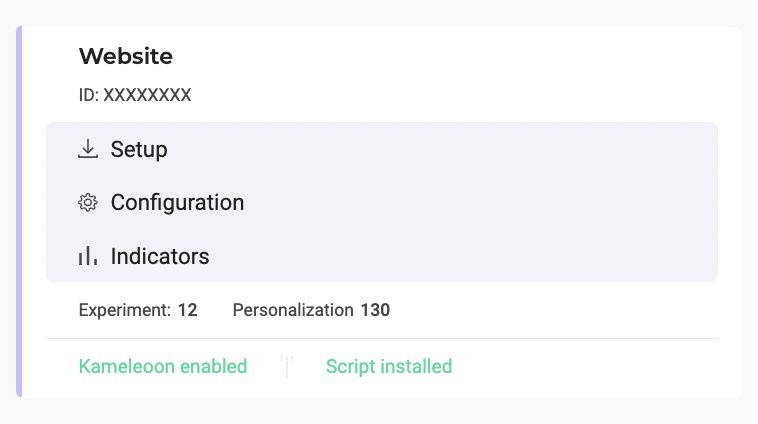
- Setup: This page lets you install the Kameleoon script in your project.
- Configuration: This page gives access to advanced configuration options.
- Indicators: This page displays the indicators measured in your project.
You will also find the number of experiments and personalizations created on the site or mobile app.
When you move the mouse over a card, an action bar appears.
Actions
Delete
You can remove a project from your Kameleoon account.
This action is not available if you only have one project.
Edit

Once you have identified the project you want to edit, click Edit or Configuration.
Disable/Enable
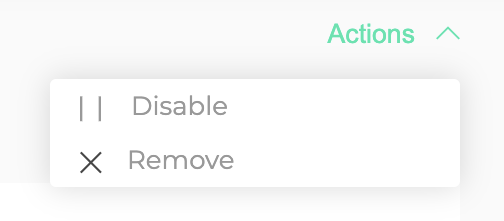
In the top right of the Configuration page, you'll find an Actions menu. Click to access the available actions.
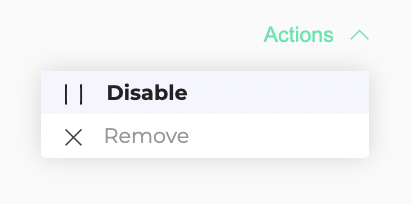
If Kameleoon is enabled on your project, the Disable action is displayed. If Kameleoon is disabled, the action is Enable.
When you disable Kameleoon, a pop-in will appear asking you to confirm your choice. If you confirm, all experiments and personalizations on your website or mobile app will be deactivated. They will automatically resume once Kameleoon is re-enabled.
Upon disabling, the Kameleoon Application File (kameleoon.js) will be almost entirely stripped of its content, although the Kameleoon object will remain defined. Some methods within the Activation API may not function correctly in this state, particularly those in the Experiments, Feature Flags, and Personalizations objects. If you are calling Activation API methods outside Kameleoon, we strongly recommend using the Kameleoon CommandQueue to prevent any errors on your website. Additionally, please note that disabling Kameleoon does not instantly stop your web campaigns. Since our script may be cached by the browser, returning visitors who have already downloaded a previous version will continue to use it until their browser cache expires.
You can also remove your project.
Add a new project
You can set up as many projects in your account as you wish. A project can be a website, a mobile app, or any environment (for example, staging, production) you use internally.
To add a new project:
- Log in to your Kameleoon account.
- Click Admin > Projects.
- Click New project. A pop-in opens.
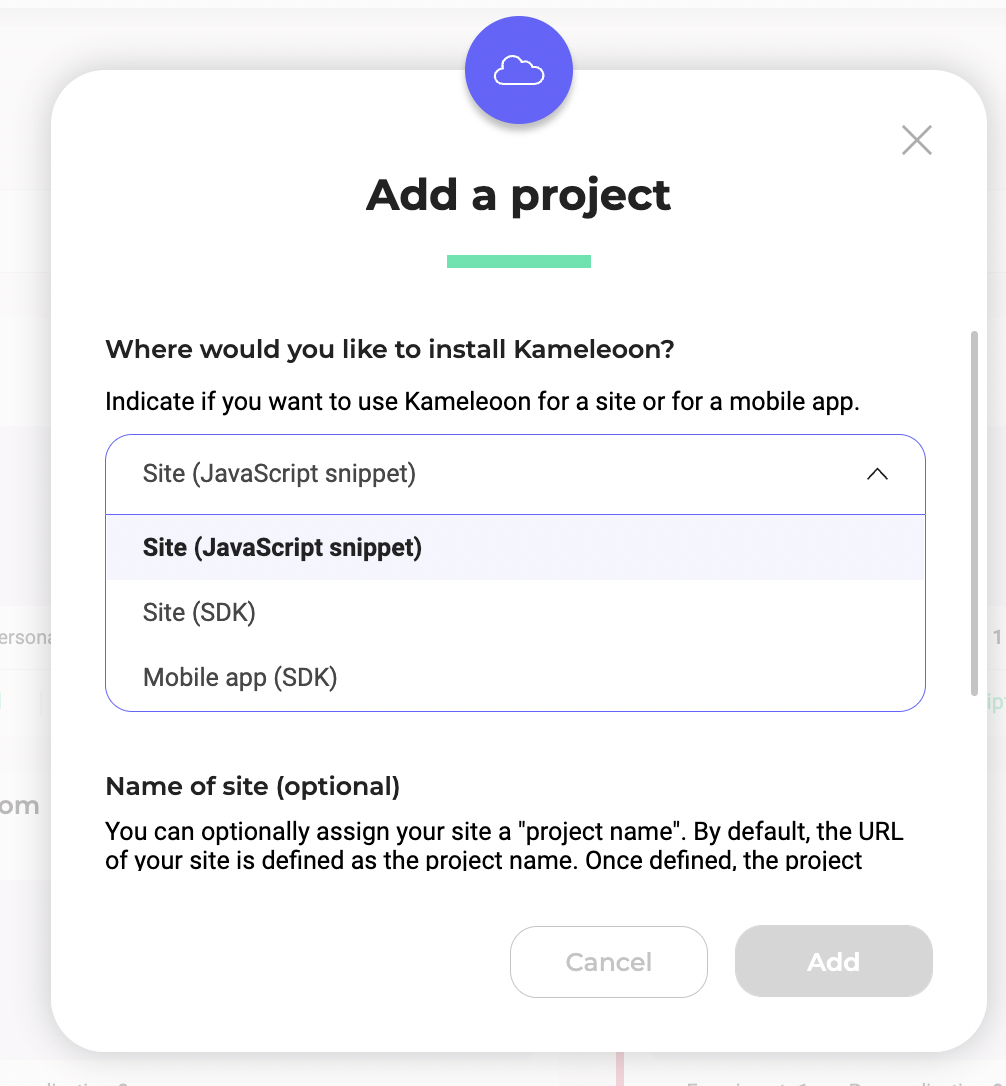
- Indicate if you want to use Kameleoon for a site (JavaScript snippet or SDK) or for a mobile app (SDK).
- Enter your project URL and, optionally, a name and description for your new project in the pop-in that appears.
If you associate a name with your project, Kameleoon will use it across the platform, as opposed to its URL.
- Click Add.
Implement Kameleoon on a site using a JavaScript snippet
Choose this method if you want to create:
- personalizations
- graphic experiments
- MVTs
- CSS/JS experiments
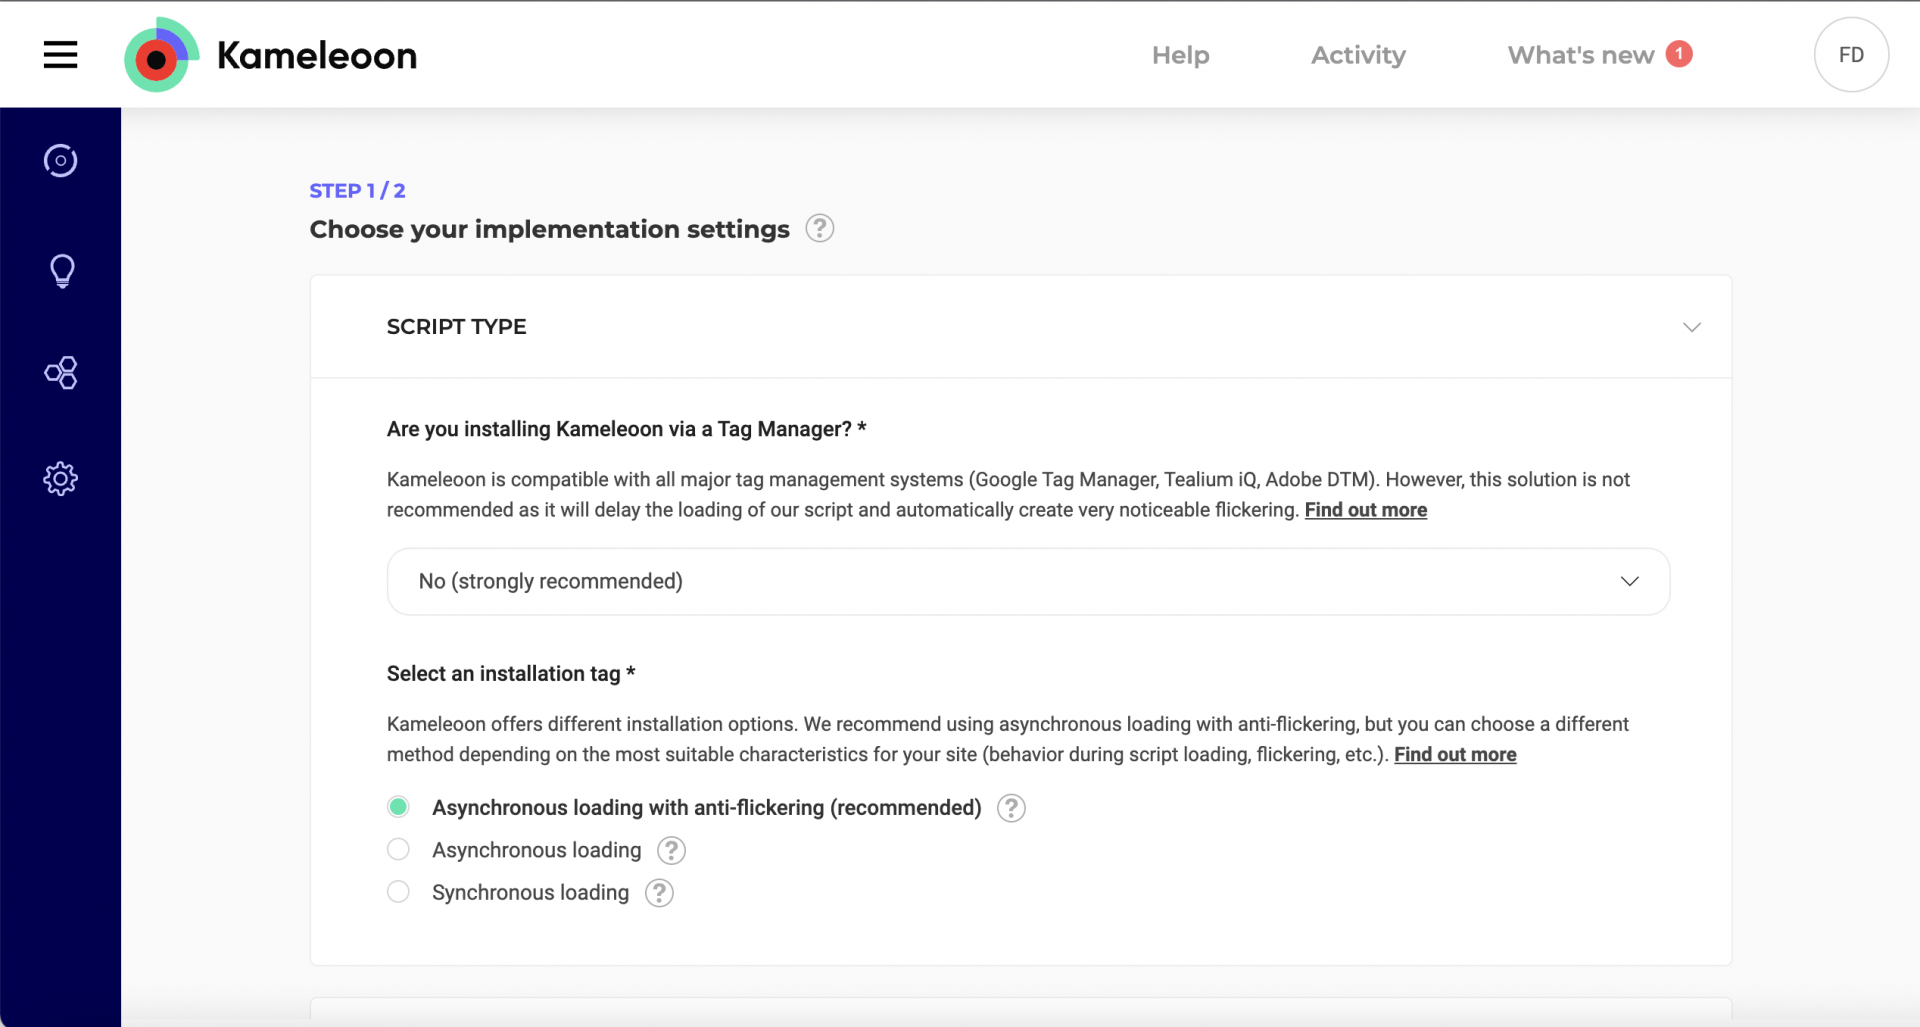
Script Type
Kameleoon is compatible with all major tag management systems; however, we strongly recommend that you don’t install Kameleoon using a tag manager, as it will increase the likelihood of experiencing flickering in your campaigns. (Learn more about flickering here). Therefore, when you configure your script type, we recommend choosing No from the drop-down.
If you choose No, you must select your installation tag next. We recommend selecting the Asynchronous loading with anti-flickering option.
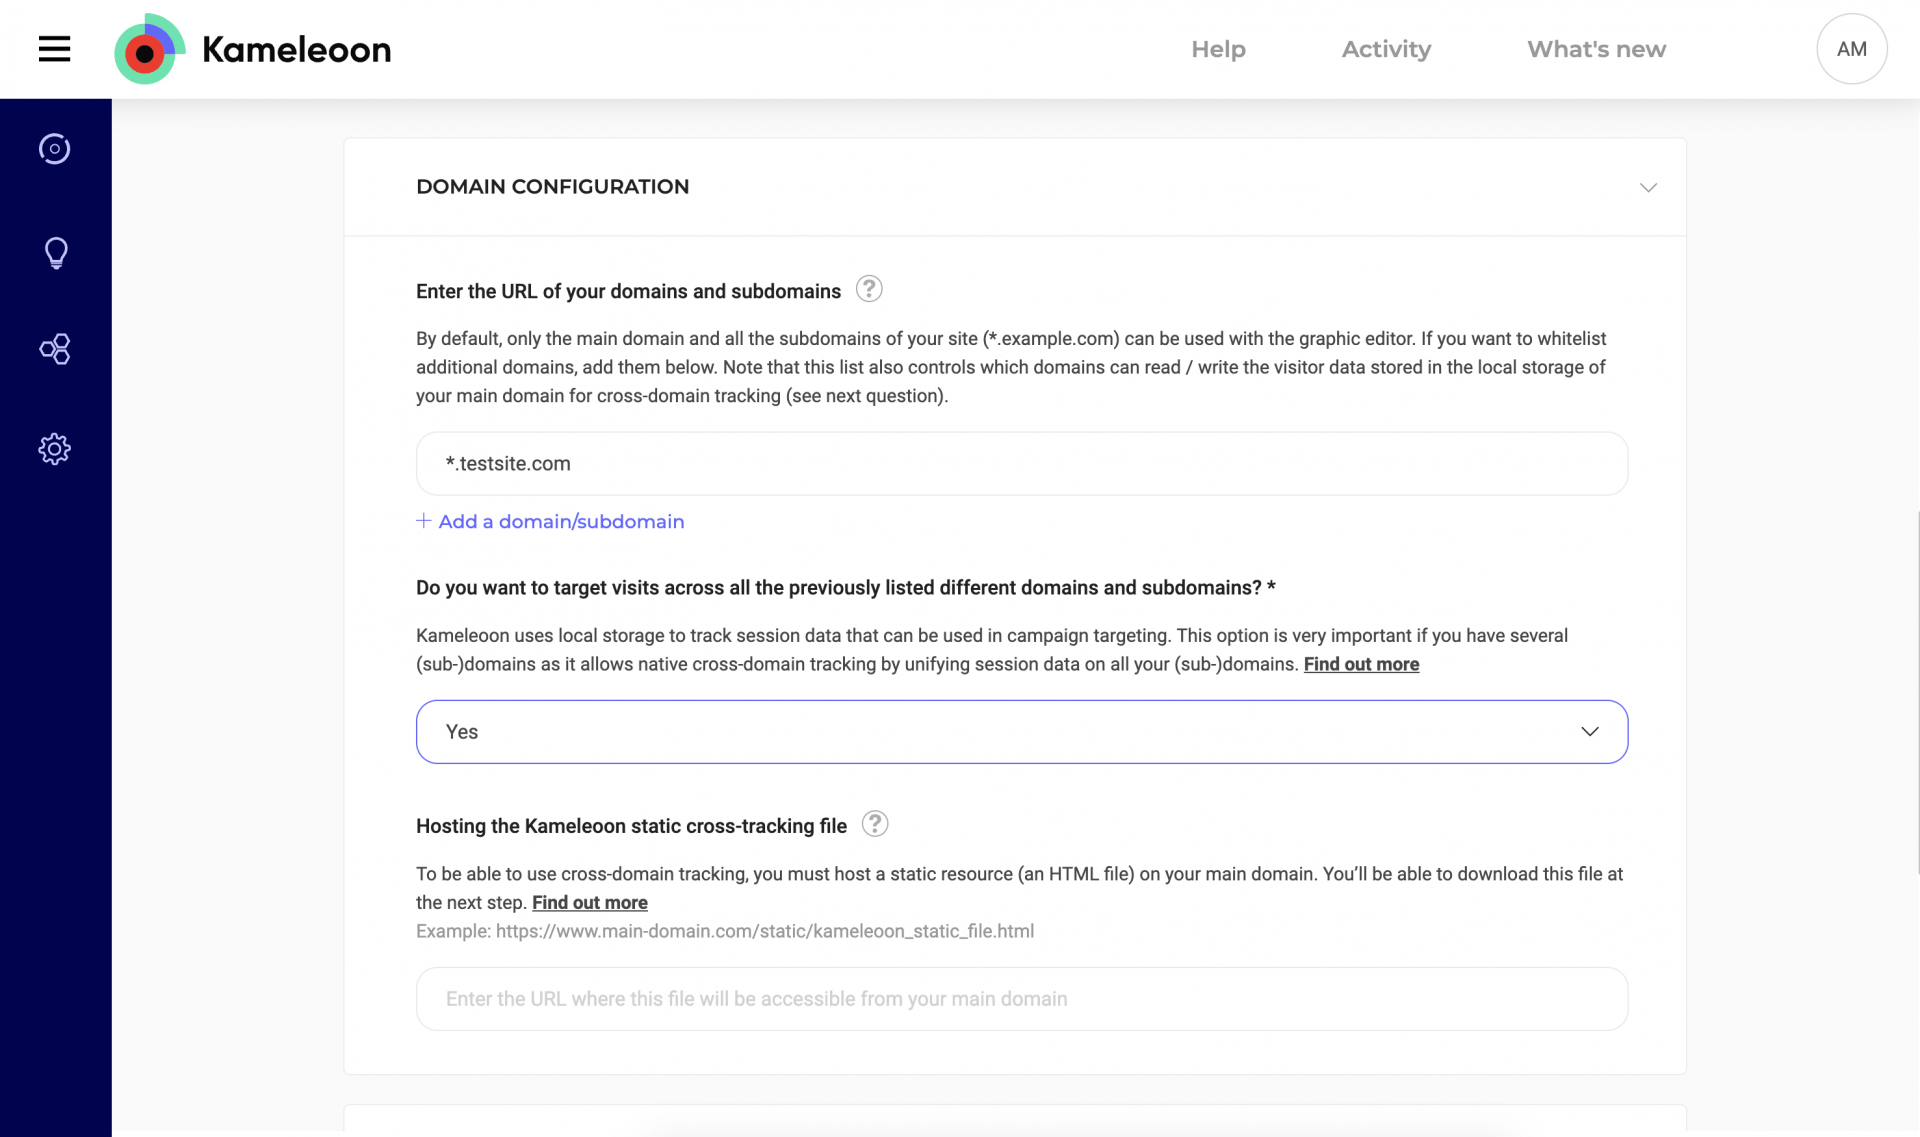
Domain Configuration
Under Domain configuration, you can add domains and subdomains for cross-domain tracking.
Kameleoon uses local storage to track session data that can be used in campaign targeting. This option is important if you have several domains, as it allows native cross-domain tracking by unifying session data on all of your domains. This list also controls which domains can read/write visitor data stored in the local storage of your main domain for cross-domain tracking.
In simple terms, cross-domain tracking makes it possible to track visitors on different subdomains (for example, example.com and payment.example.com). We recommend enabling cross-domain tracking because it lets you track visitors for all of your domains. With cross-domain tracking, your visitors will not be considered new visitors when they navigate across your domains and subdomains, and their experiences will be consistent across your digital properties. However, cross-domain tracking is only required if you intend to use session data across all your domains for advanced behavioral targeting purposes, as it lets Kameleoon read data stored in the local storage.
Note that, by default, you can only use your main domain and its subdomains (*.example.com) in the graphic editor. If you want to whitelist additional domains, you should add them by clicking on Add a domain/subdomain.
Resource Hosting
You can host the application file yourself, or Kameleoon can host it. If you choose to self-host Kameleoon public resources (Yes in the drop-down), you must enter your Content Delivery Network's (CDN) URL.
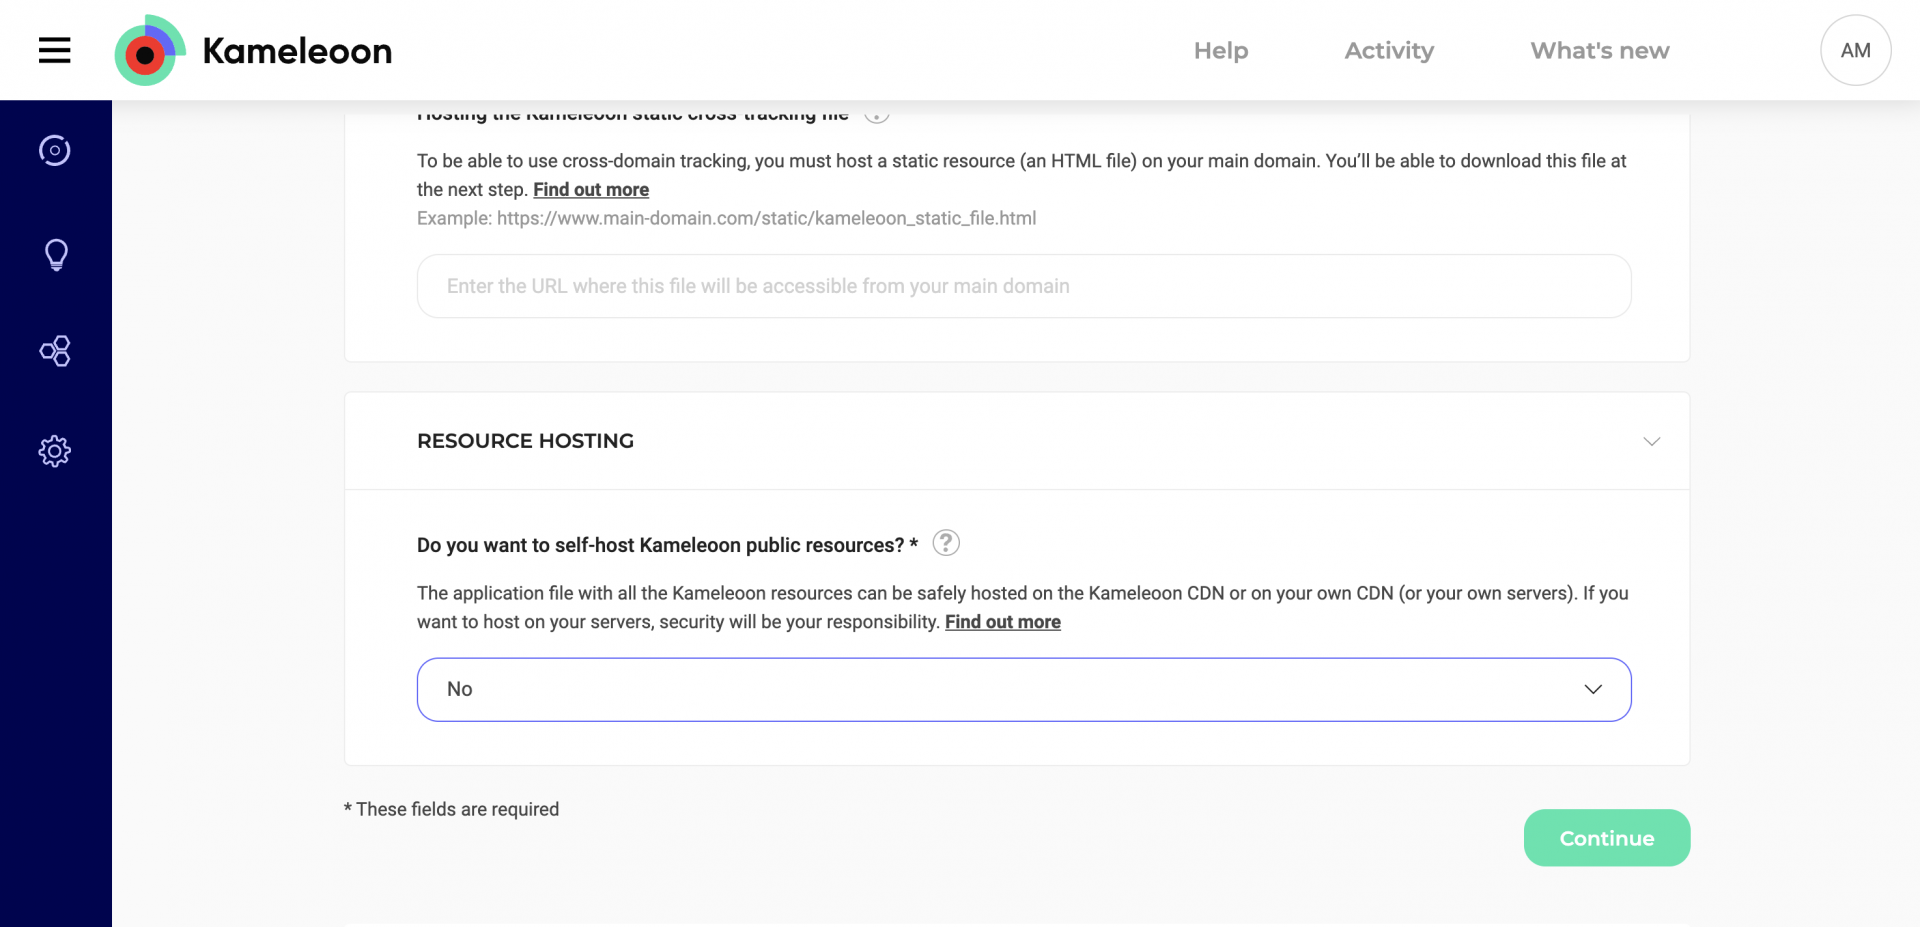
When you’re done with your implementation settings, click Continue.
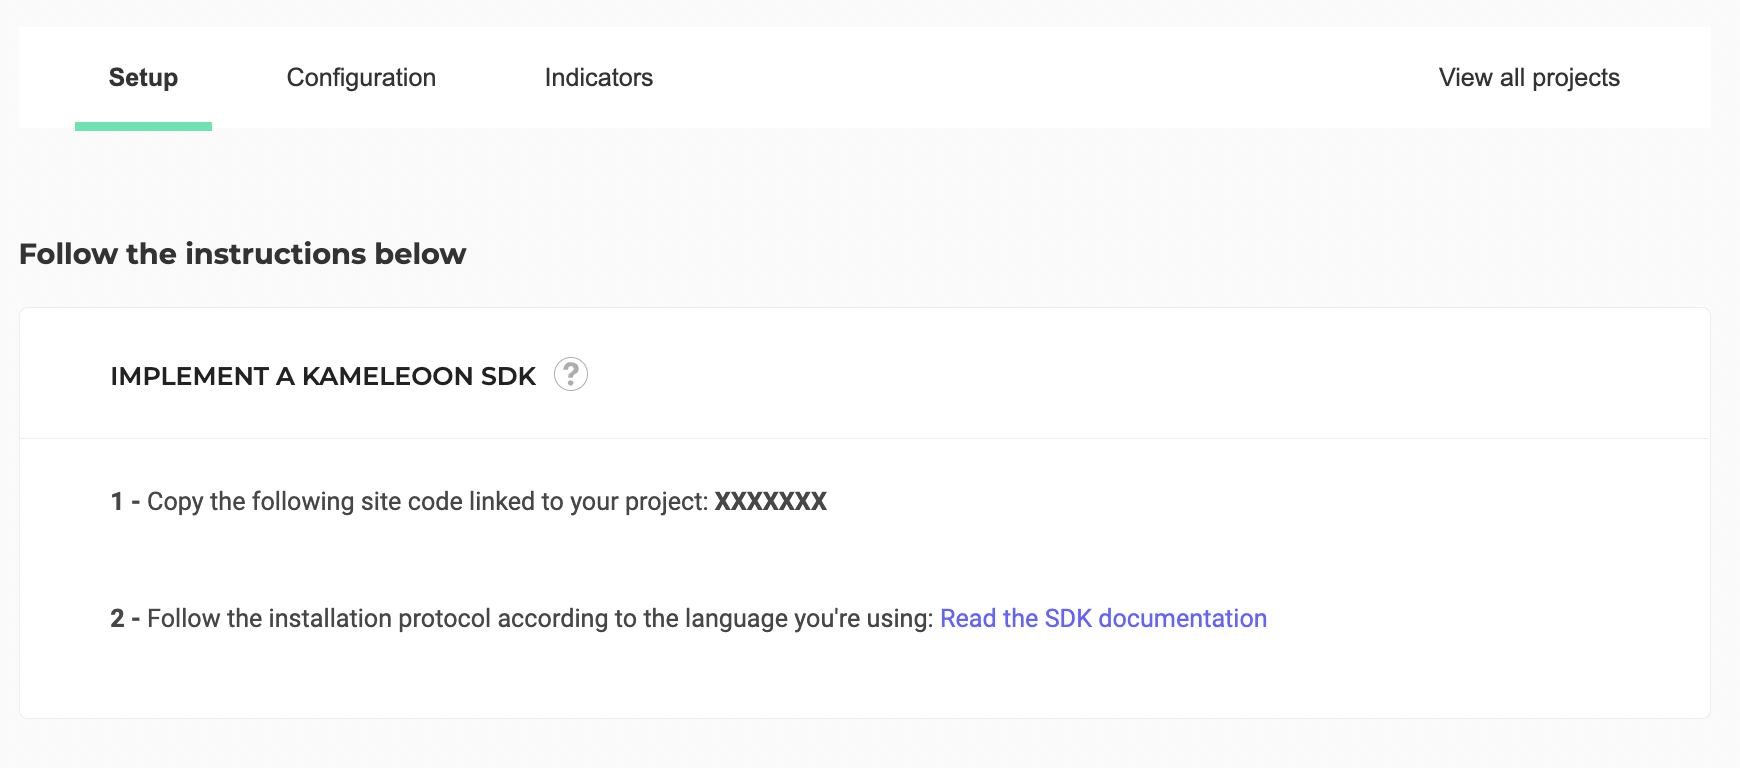
Install Kameleoon
When you defined your project’s URL in the configuration process, Kameleoon created a script to install on your project, which you can access on this page. Copy this code snippet and paste it immediately after the <head> tag in your web page’s source code.
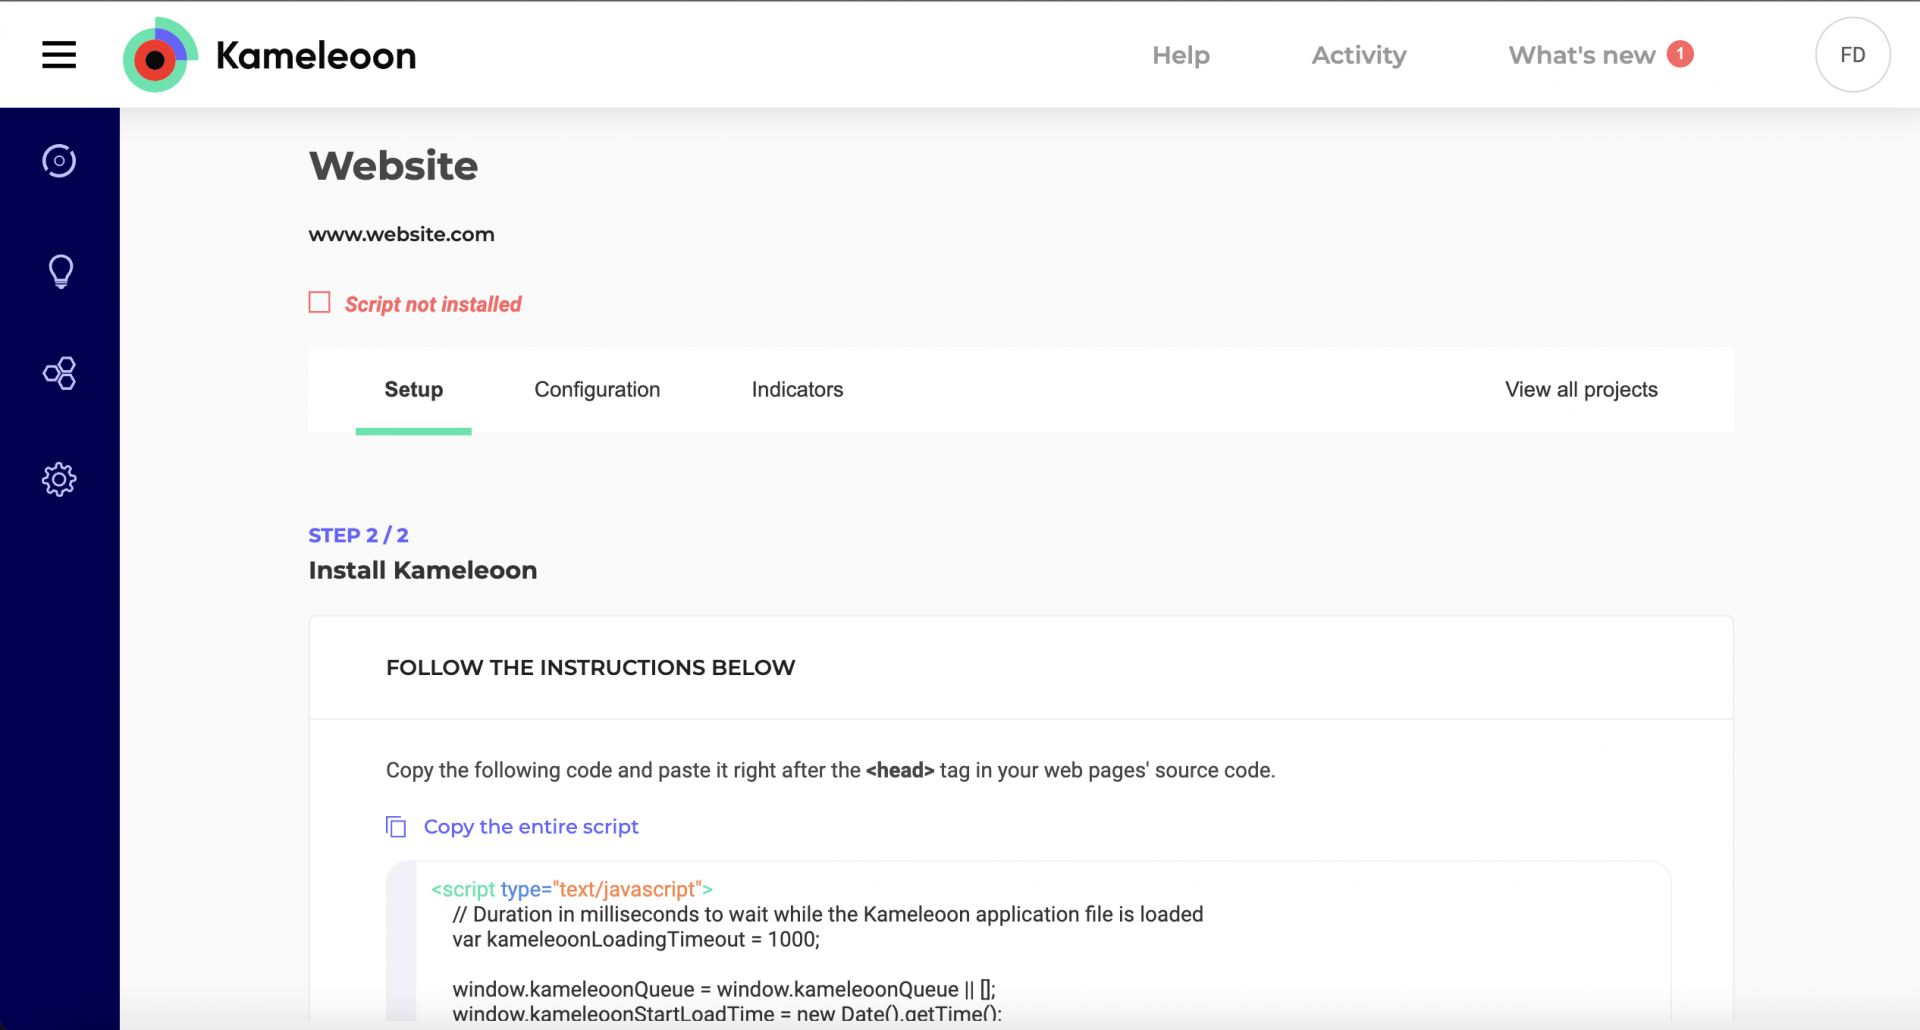
After adding the code snippet to your project's <head> tag, click Validate.
You’ll have to repeat these steps for each project you set up. It’s important that you don’t reuse the same code snippet, because Kameleoon’s reporting tools and goals are specific to a single project, and you must track your projects’ performances separately. For further information about reporting tools and goals, read our article Reporting tools and goals.
Implement Kameleoon on a site or a web app using a web SDK
You can create all campaign types with this method.
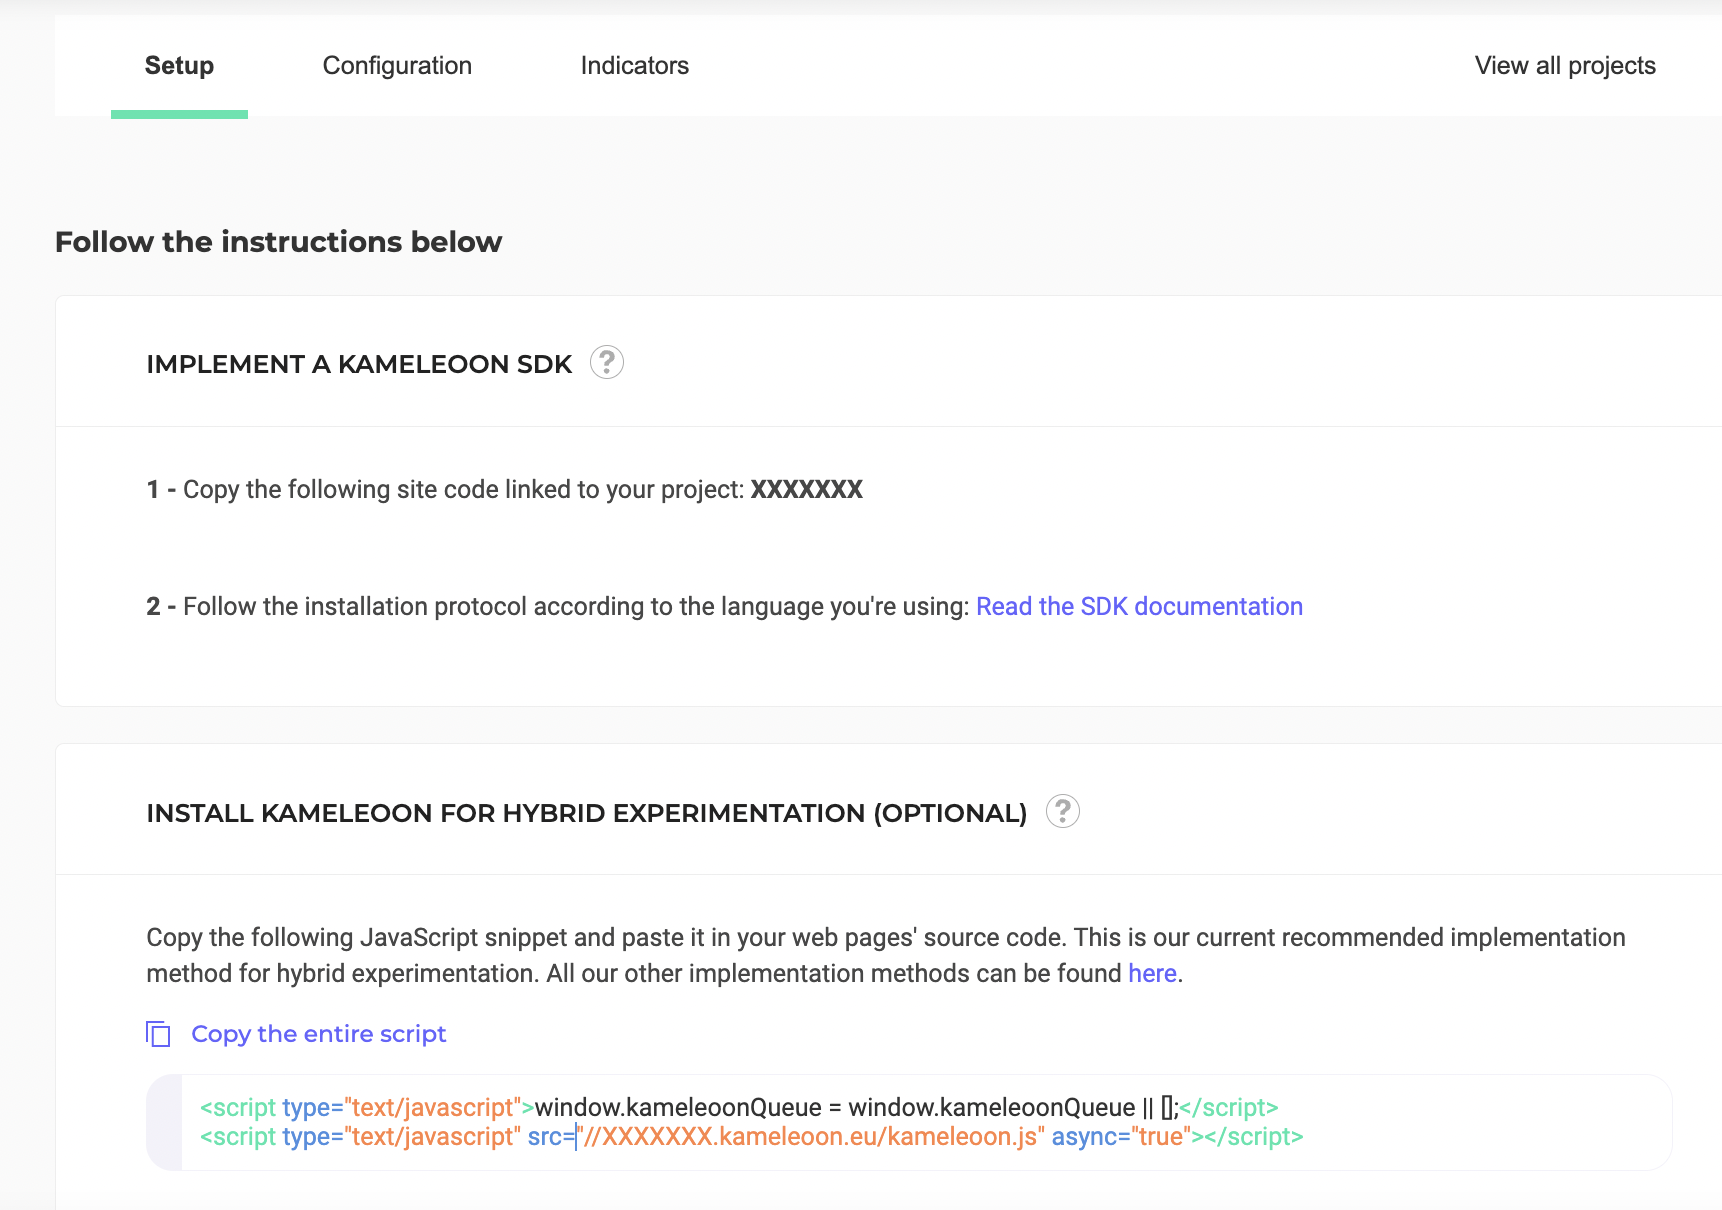
If you want to install Kameleoon on a site or web app using an SDK, refer to this documentation.
Implement Kameleoon on a mobile app using a mobile SDK
Choose this method if you want to create:
- feature flags
- SDK experiments
You cannot create other campaign types on a project added with this method.
If you want to install Kameleoon on a mobile app using an SDK, refer this documentation.
Advanced configuration options
The following page is displayed:
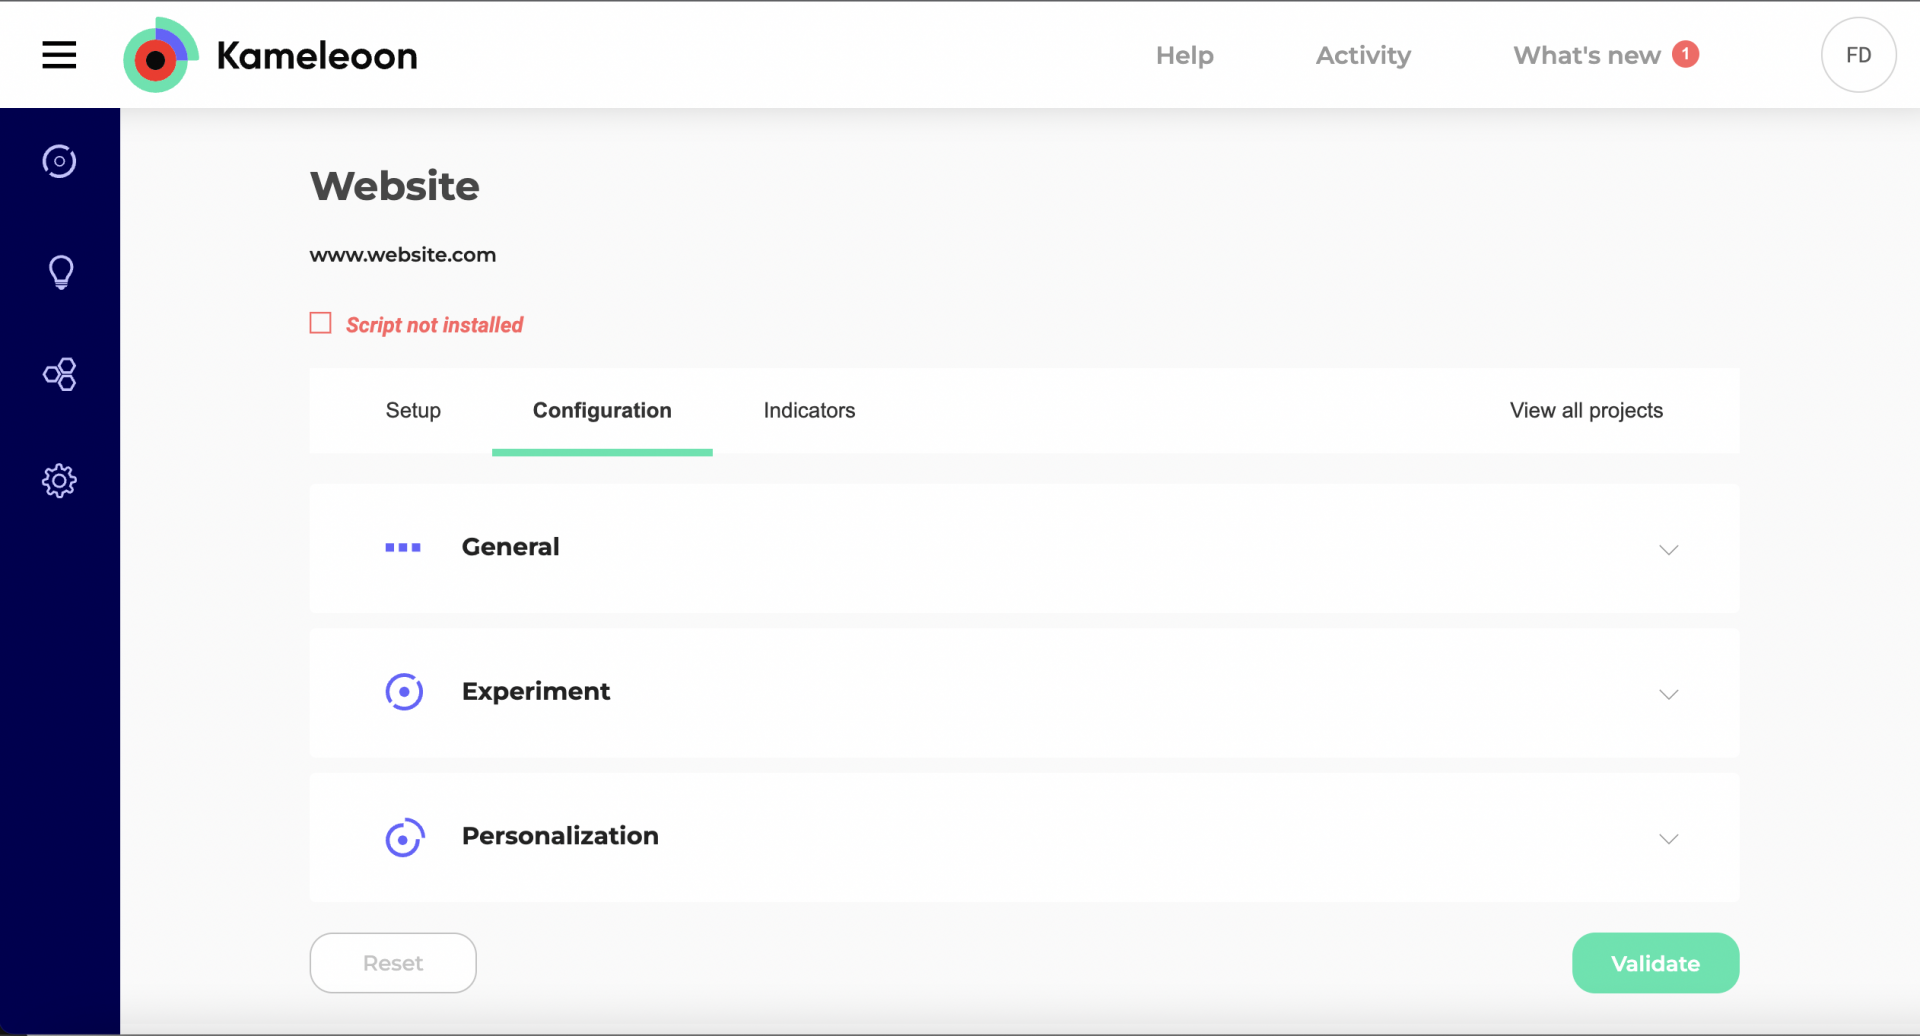
It consists of a header, a menu bar and four scrollable sections:
- General
- Experiment
- Personalization
- Audience
Header
The header indicates the project's name.
The Actions menu in the top right gives you access to two different actions. Click to scroll down.
Enable/Disable Kameleoon
If Kameleoon is enabled on your project, the option is Disable Kameleoon. If it's off, the option is Enable Kameleoon.
If you choose to disable Kameleoon, a confirmation pop-in will open and ask you to confirm your choice. Your experiments and personalizations will no longer be visible in your project. Your campaigns will resume if you reactivate Kameleoon.
Remove project
When you click this option, a confirmation pop-in appears. You will have to re-install the project if you change your mind.
Menu bar

You will find four options here:
- Installation
- Configuration
- Indicators
- View all projects.
Setup
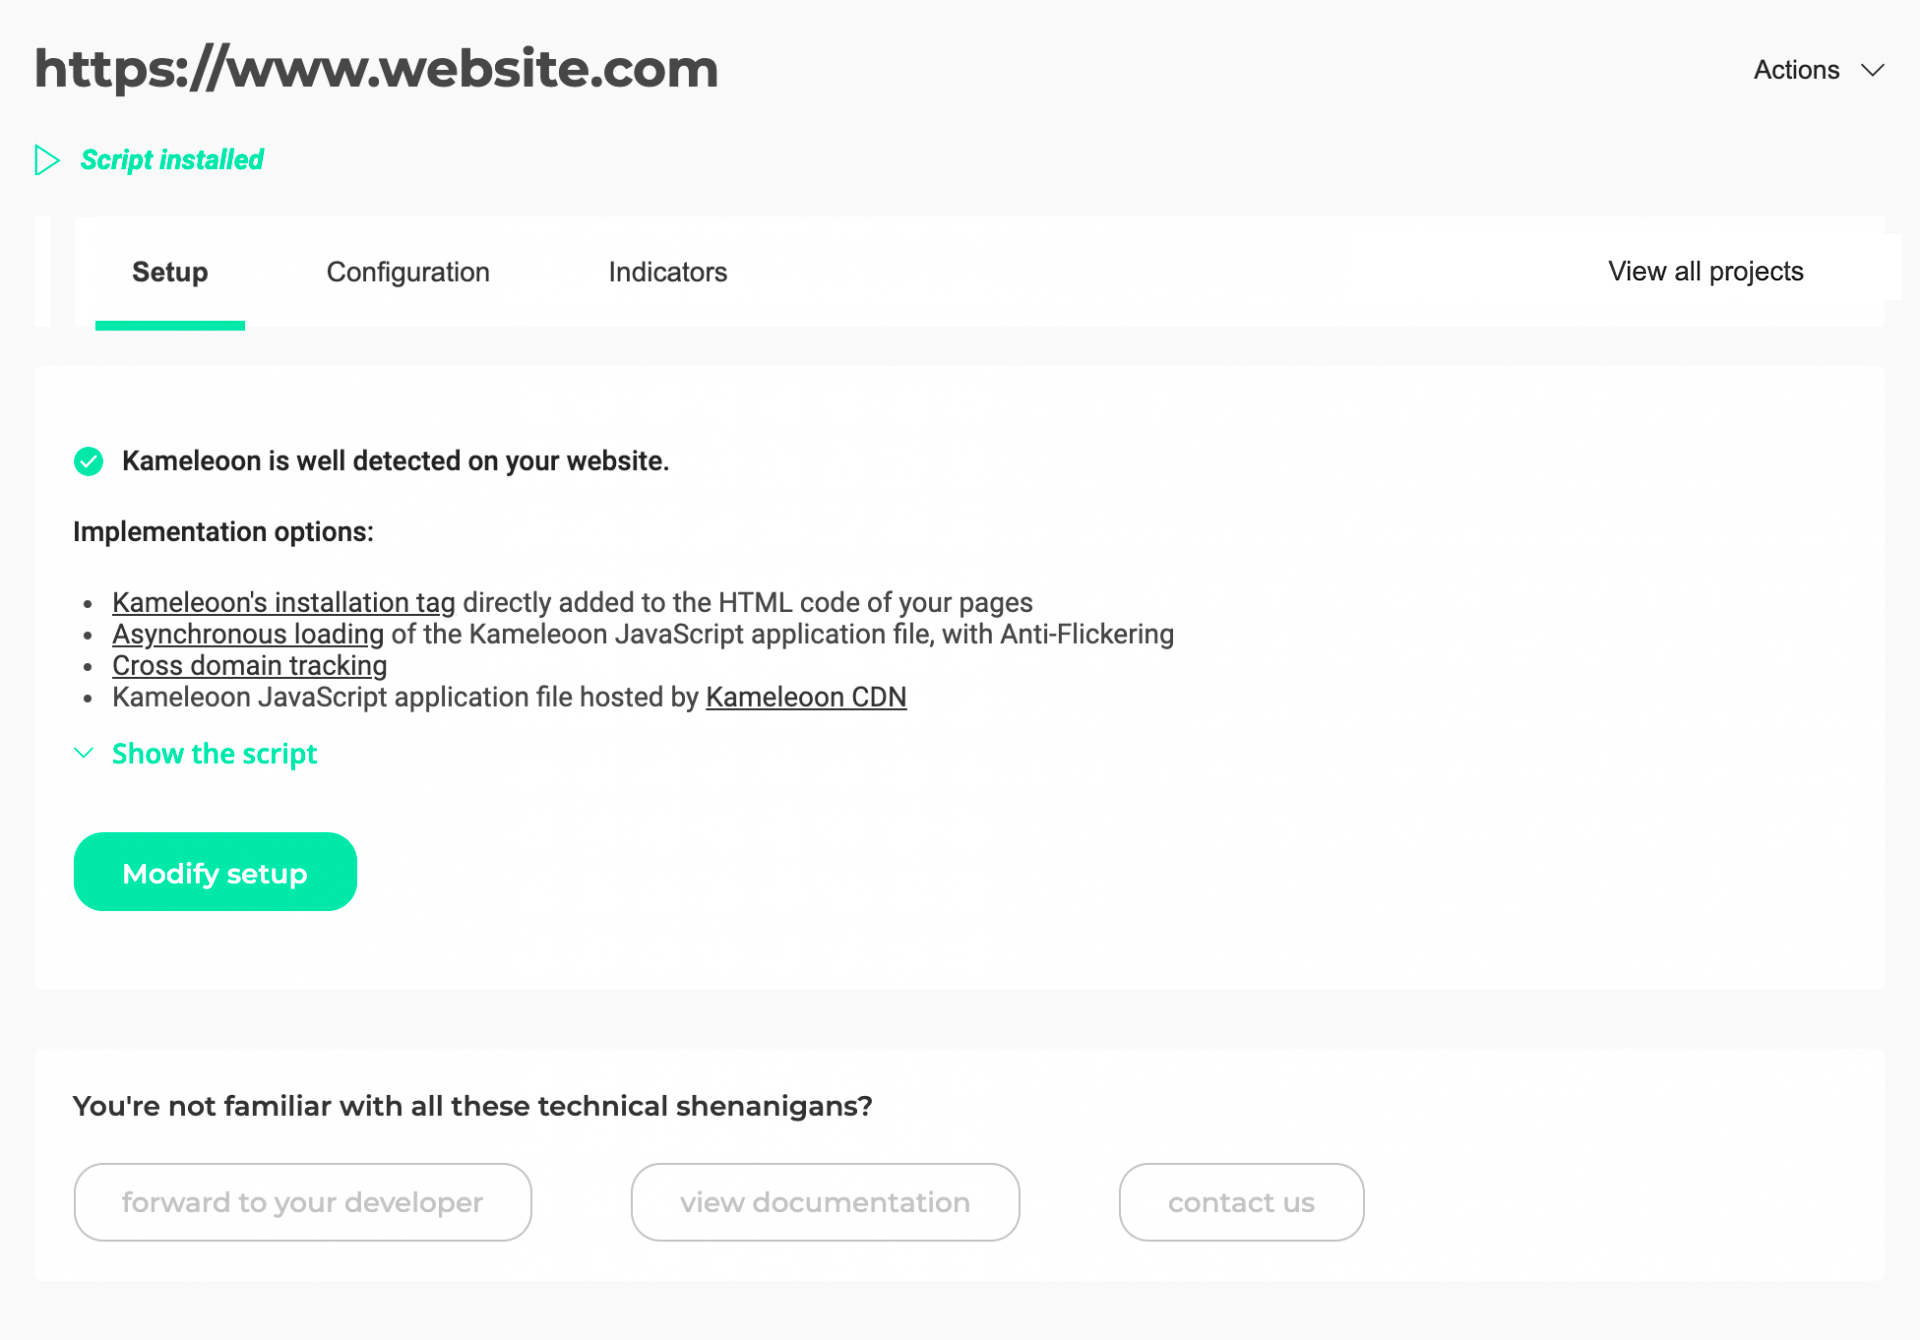
Here, you can access the installation page linked to your project.
Configuration
General
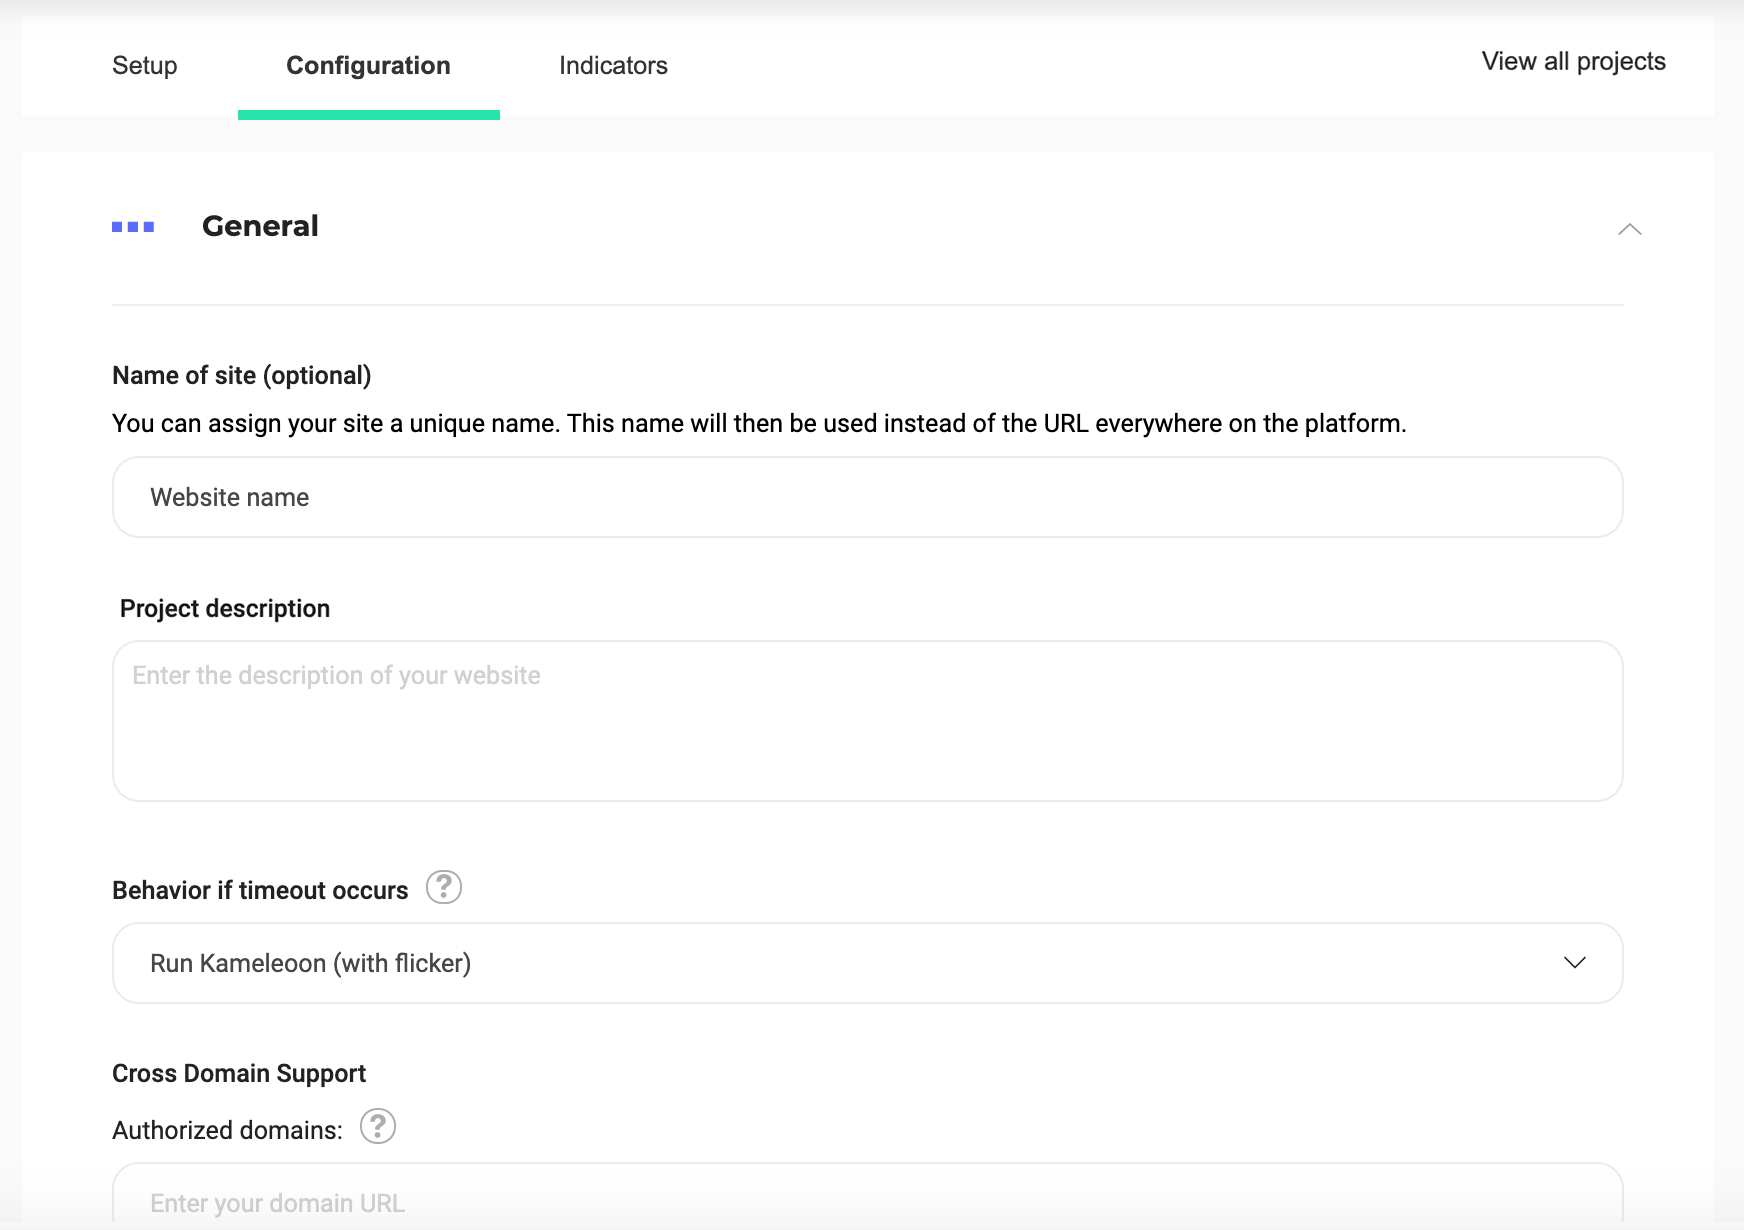
Site's name (optional)
You can assign your site a unique name. This name will be used instead of the URL everywhere on the platform.
Project description
You can add a description of your project here.
Behavior if timeout occurs
You can redefine Kameleoon's behavior when the script exceeds its usual loading time. By default, Kameleoon will eventually launch with a flicker effect.
The available options are:
- Start Kameleoon (with flicker effect).
- Disable Kameleoon for this page.
- Disable Kameleoon for the whole visit.
Cross-domain support
You can add authorized domain URLs.
By default, any domain will be authorized to load your Kameleoon script and access the Kameleoon data associated with a user on your website or mobile app (such as defined custom data), which can be a security risk. For each added domain, all its subdomains are automatically included.
Global script
Global script is a JavaScript snippet injected at the global level of a site (or project) in Kameleoon. To access a project's global script, click Admin > Settings > Configuration > General. Scroll down to find the global script.
In simple terms, the global script:
- Runs on every page where the Kameleoon tag is loaded, before all experiments, personalizations, segments, and triggers.
- Defines variables, helper functions, or tracking code that should be available across all experiments in the project.
- Acts as a central location to manage shared code and avoid duplication.
Typical use cases include:
- Defining global variables (for example, values from the
dataLayer, device type). - Creating reusable utility functions (for example, date formatting, logging).
- Converting custom goals (for example, revenue, add to cart) and setting custom data.
- Triggering events for targeting.
- Handling consent logic.
Best practices:
- Keep the lightweight and optimized to avoid performance issues.
- Document the contents of your global script—it affects the entire project.
Recommended structure:
console.log('[Script Last Update]', new Date(Kameleoon.Internals.configuration.scriptProduceTime).toLocaleString());

class GlobalScript {
    handleConsent() {

    } // end of handleConsent

    triggerEvents() {

    } // end of triggerEvents

    convertGoalsAndSetCDs() {

    } //end of convertGoalsAndSetCDs

    configExternalTools() {

    } // end of configExternalTools

    init() {
         this.handleConsent();
         this.triggerEvents();
         this.convertGoalsAndSetCDs();
         this.configExternalTools();
    }
}; //end globalScript

const globalScript = new GlobalScript();
globalScript.init();
Attribution window
Here, you can set your attribution window's duration.
The attribution window defines the period of time during which a visitor's conversions and revenue are attributed to a given variation. By default, it is set to seven days. Learn more about attribution windows
Currency
By default, currency settings are determined by the country associated with your account. However, you have the option to manually manage currency on a project-by-project basis. To change your project's currency, select your desired currency from the dropdown menu.
Advanced settings
- Enable support for dynamic websites: Using this option is recommended if your website is a web application (Single Page App or Progressive Web App, for instance) with virtual URLs. This option lets Kameleoon see every virtual URL change and allows URL targeting to work as usual. Learn more here and here.
- Use the # symbol in all Kameleoon URL parameters (instead of "?"):** Some Kameleoon features (simulation links, graphic editor) require additional parameters to be added to your website URLs. By default, those parameters are appended at the end of the URL after a
?symbol. Some websites are incompatible with this syntax, while others are incompatible with the#symbol. Check this option to switch to a#symbol if you notice issues with the default behavior. Please note that this only concerns URLs changed while you (or another authorized user) operate Kameleoon. Kameleoon never changes URLs for your visitors. - Generate the code of all graphic widgets using JS with shadow DOM: Using JS with shadow DOM will isolate the widgets’ CSS from the one used on your website to avoid incompatibility. If you activate this option, widgets already used in a campaign will automatically update when the campaign status changes. If you use CSS class names from your website in your widgets, styles may not apply correctly.
- Exclude IP addresses from the results of your tests: If you activate this option, visitors associated with the IP addresses entered will no longer be counted in the results pages of the tests you run on this website.
We recommend utilizing this feature primarily for excluding your office IP address or any other internal IPs that may interfere with accurate test results. As the exclusion is performed client-side, we strongly advise against including personal IP addresses in the exclusion list.
Experiment
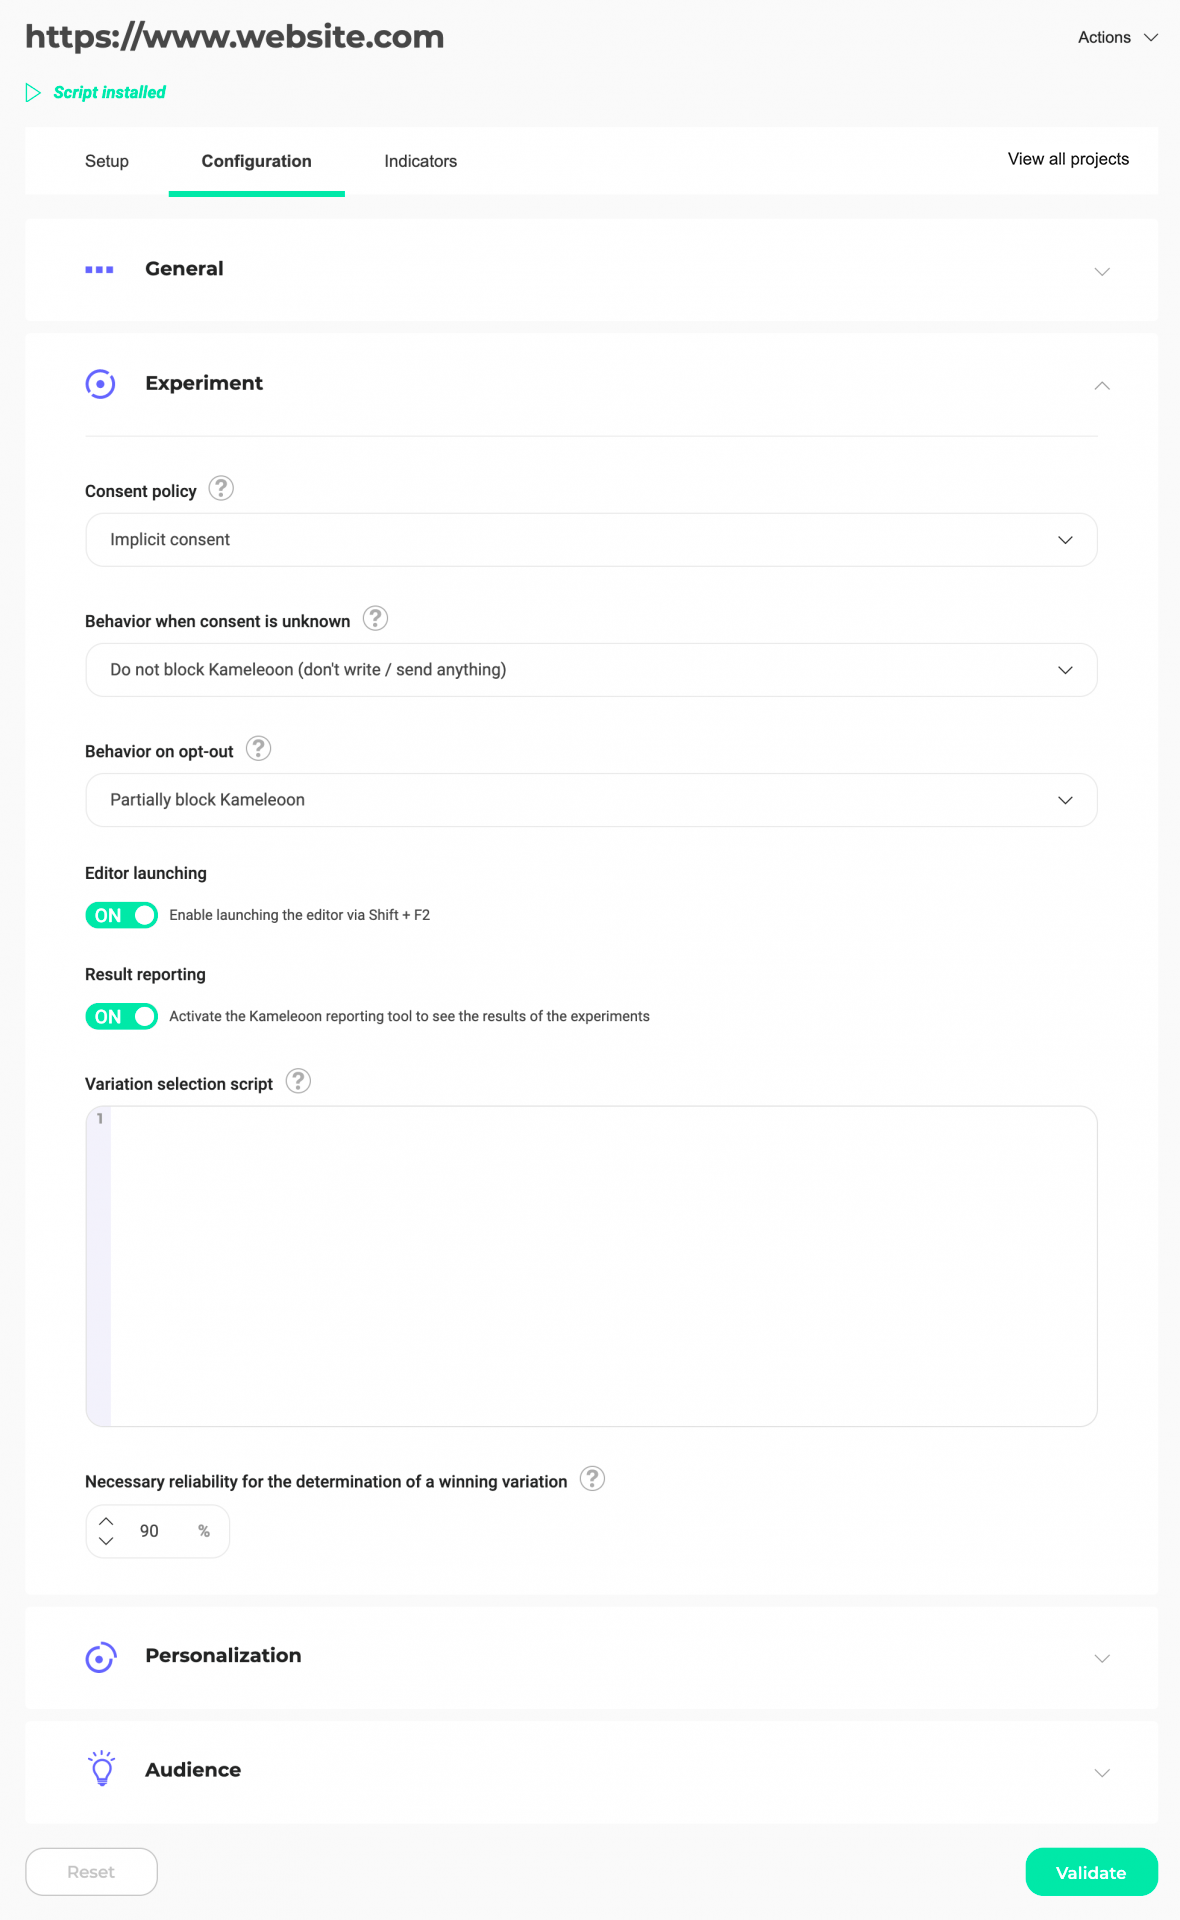
Consent policy
To learn more about setting up legal consent, read our article on the subject.
Behavior when consent is unknown
To learn more about setting up legal consent, read our article on the subject.
Behavior on opt-out
To learn more about setting up legal consent, read our article on the subject.
Editor launching
This option lets you access the Kameleoon editor using the keyboard shortcut Shift + F2. By default, the option is ON. To disable it, click the button to switch it to OFF.
Result reporting
Enable (ON) or disable (OFF) results reporting with this option.
Variation selection script
A variation selection script is a script that forces a variation's display based on specific rules. Enter the complete script code here to use it with Kameleoon.
Necessary reliability for the determination of a winning variation
By changing this percentage, you can set the threshold above which a variation is winning (for instance, a 95% necessary reliability means that you are comfortable with a maximum of 5% false-positive results).
Variations that have a lower reliability than the set rate cannot be presented as winning variations in your results, regardless of their conversions. Reliability score impacts the results presented by Kameleoon; we therefore recommend you change this setting sparingly.
Personalization
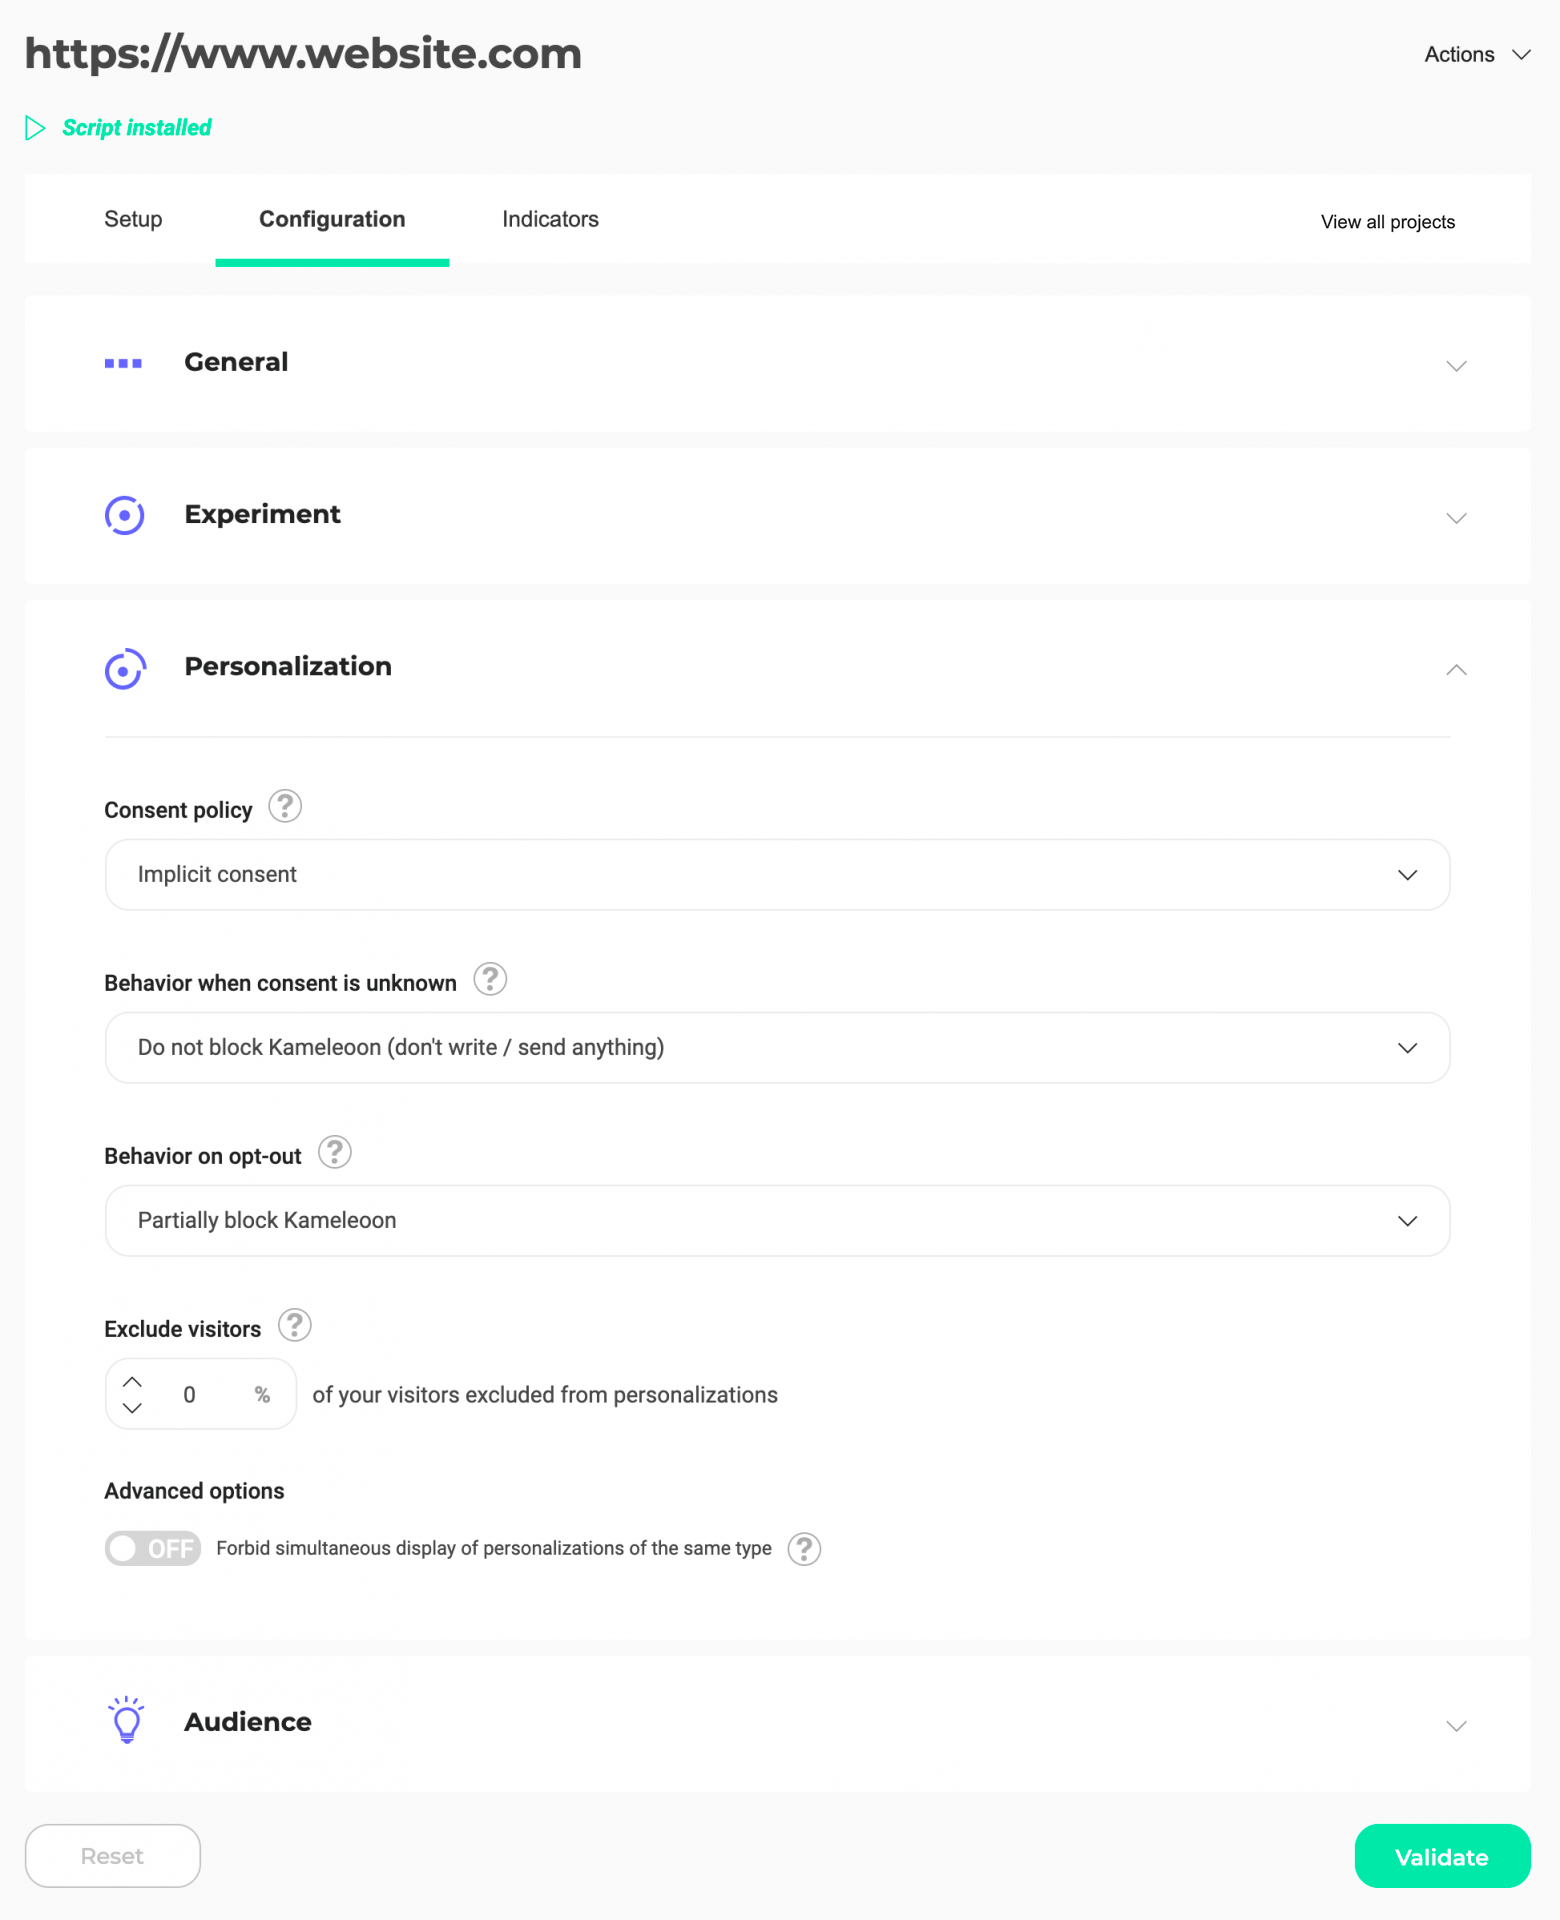
Consent policy
To learn more about setting up legal consent, read our article on the subject.
Behavior when consent is unknown
To learn more about setting up legal consent, read our article on the subject.
Behavior on opt-out
To learn more about setting up legal consent, read our article on the subject.
Exclude visitors
You can define a visitor rate that won't be exposed to your personalizations. We advise you to keep a sample population not exposed to determine your personalizations' efficiency.
To learn more about control groups
Advanced options
By default, Kameleoon allows the display of more than one similar personalization on a page (for example, two pop-ins or two images inserted in the same place). You can, however, prevent simultaneous display by switching the OFF button to ON.
Once your changes are complete, click Save to save your settings.
If you want to reset the project's default options, click Reset.
Indicators

This page displays the indicators measured on your project.
You can build your goals according to the metrics you measure for this project. We recommend you configure many metrics, so you can target your visitors more accurately. For example, if the Dwell time metric is measured, you can set the goal The visitor spent more than 5 minutes on the page.
Disabling indicators will stop their tracking and render related goals and targeting options inactive.