Create a prompt-based experiment
You can create AI-powered experiments in minutes by writing a simple prompt—no coding needed.
Access the prompt-based creation flow
To get started, go to the A/B Test dashboard and click New experiment.
A pop-in will open, asking how you want to build your experiment. You’ll have three options:
- By Prompt (available to all plans, including Starter and Trial)
- With the graphic editor (Enterprise only)
- With the code editor (Enterprise only)
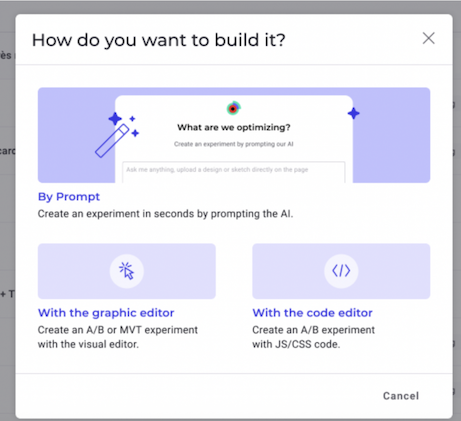
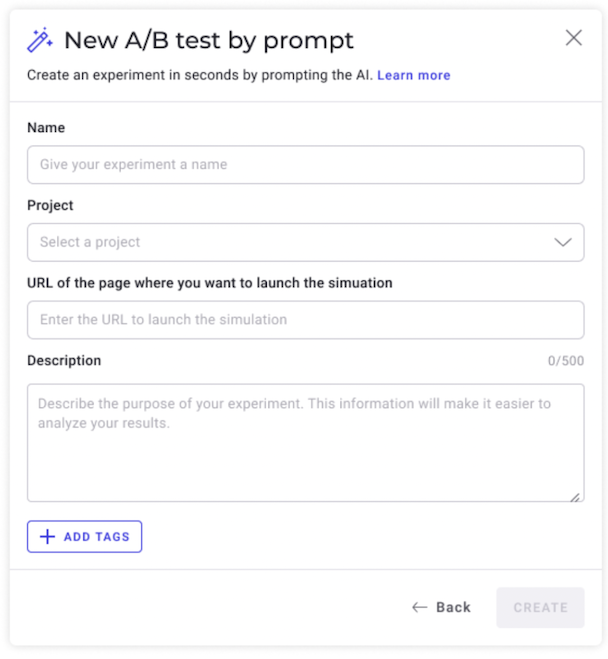
Select By Prompt and fill in the required information, then click Create.
Configure your prompt-based experiment
1. Define your prompt
In the right-hand text field, enter a natural language instruction describing your intended modification.
Examples:
- “Update the product listing grid to display 2 products per row instead of 4”
- “Change the default sorting option to ‘Price, low to high’”
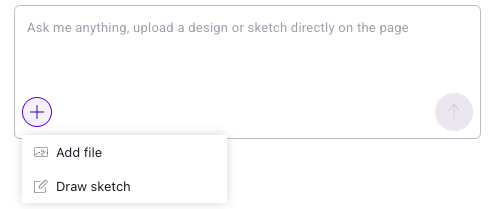
You can also click the + icon and select Add file to upload a mockup (for example, a banner or a popup). Then, you can ask the AI to recreate the mockup on your site.
Selecting an element for modification
There are two ways to help the AI identify which element to update:
- Describe it precisely in your prompt:
- For example: “Move the product grid below the banner“ or “Change the hero heading to ‘Welcome to our Summer Sale’ and change its color to #FF6600“.
- Draw a selection box:
- Click the + icon > Draw sketch. Use your mouse to outline the target element directly on the page. Using the toolbox that appears at the bottom of the selection area, you can draw a line, partially erase it, or delete it entirely.
Generating optimization ideas
You can ask PBX to generate optimization ideas directly in the prompt field:
- Type a prompt such as "Suggest ideas to optimize this page".
- Kameleoon's AI will analyze the current variation and return a curated list of actionable improvements.
- Click Regenerate to generate new ideas based on the same prompt, or click Cancel if you want to use a new prompt.
You can repeat this process at any time to iterate quickly toward higher-performing versions of your page.
2. Let the Kameleoon AI work
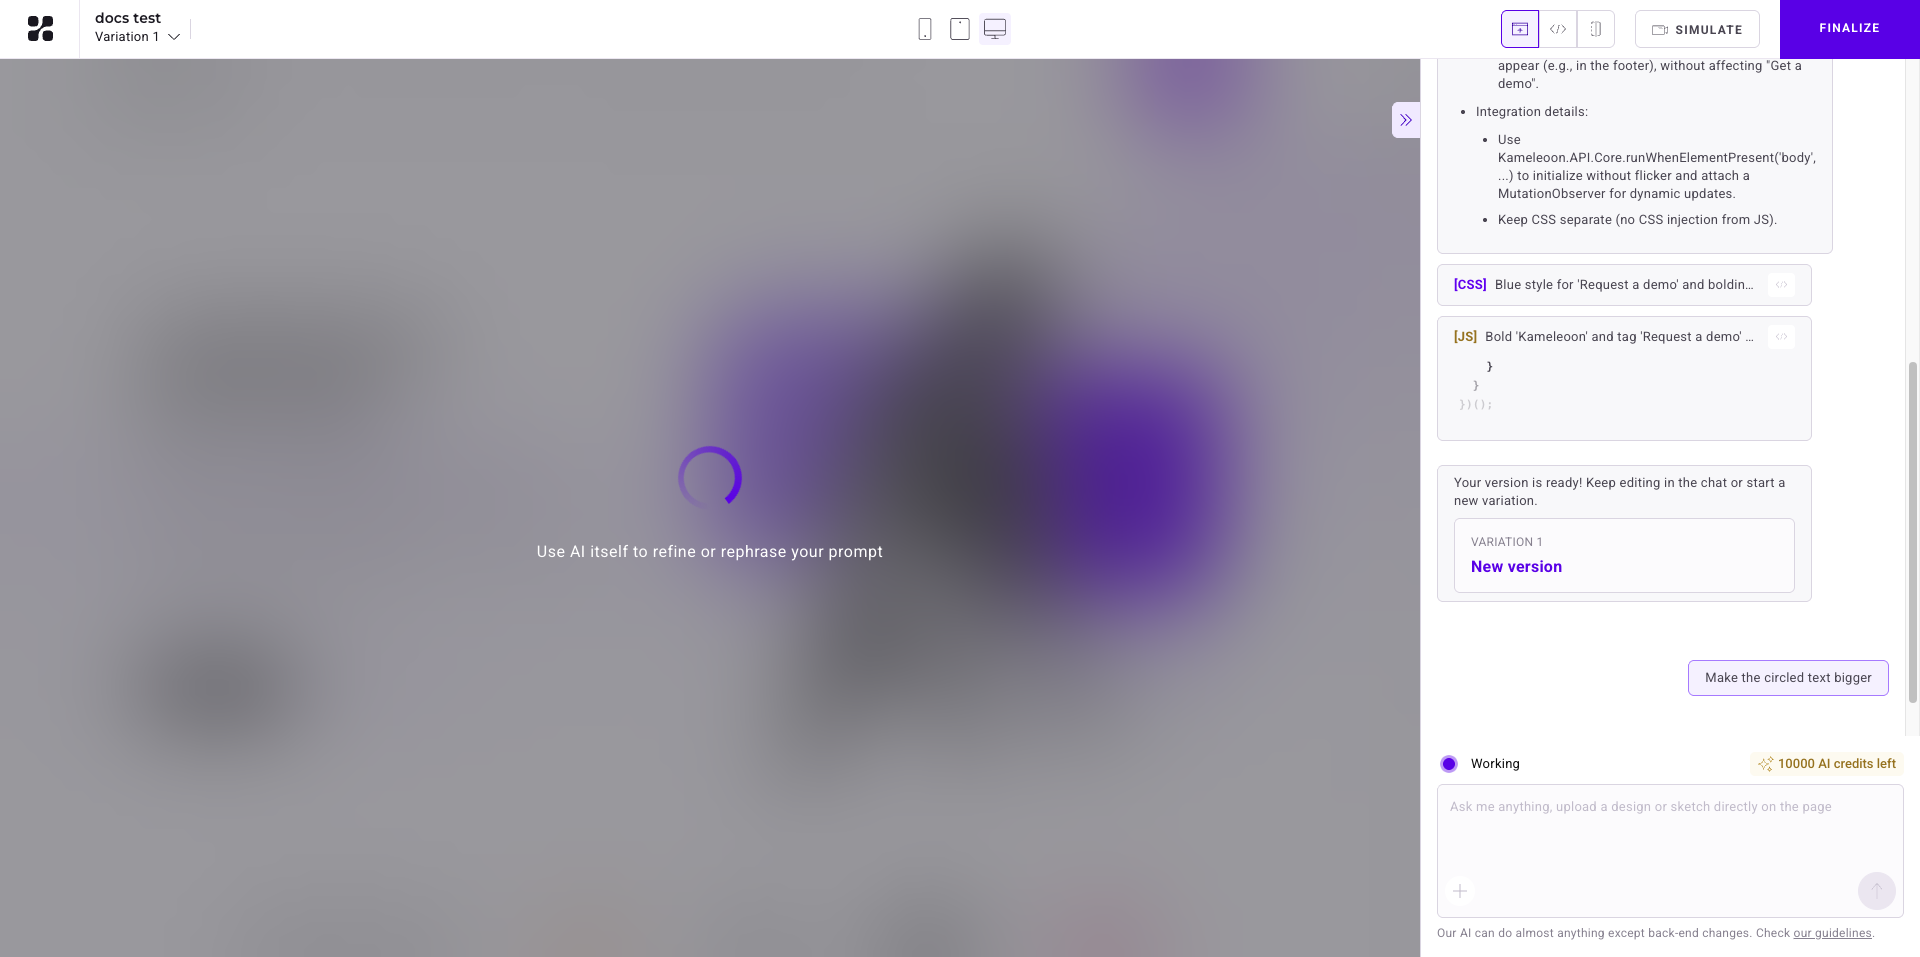
Once you submit your prompt, Kameleoon AI:
- Identifies target elements.
- Generates all the detailed specifications for the use case, including accessibility checks, responsiveness requirements, and QA steps to ensure the generated code is perfectly tailored to the use case.
- Generates the JavaScript and CSS updates needed to implement your change.
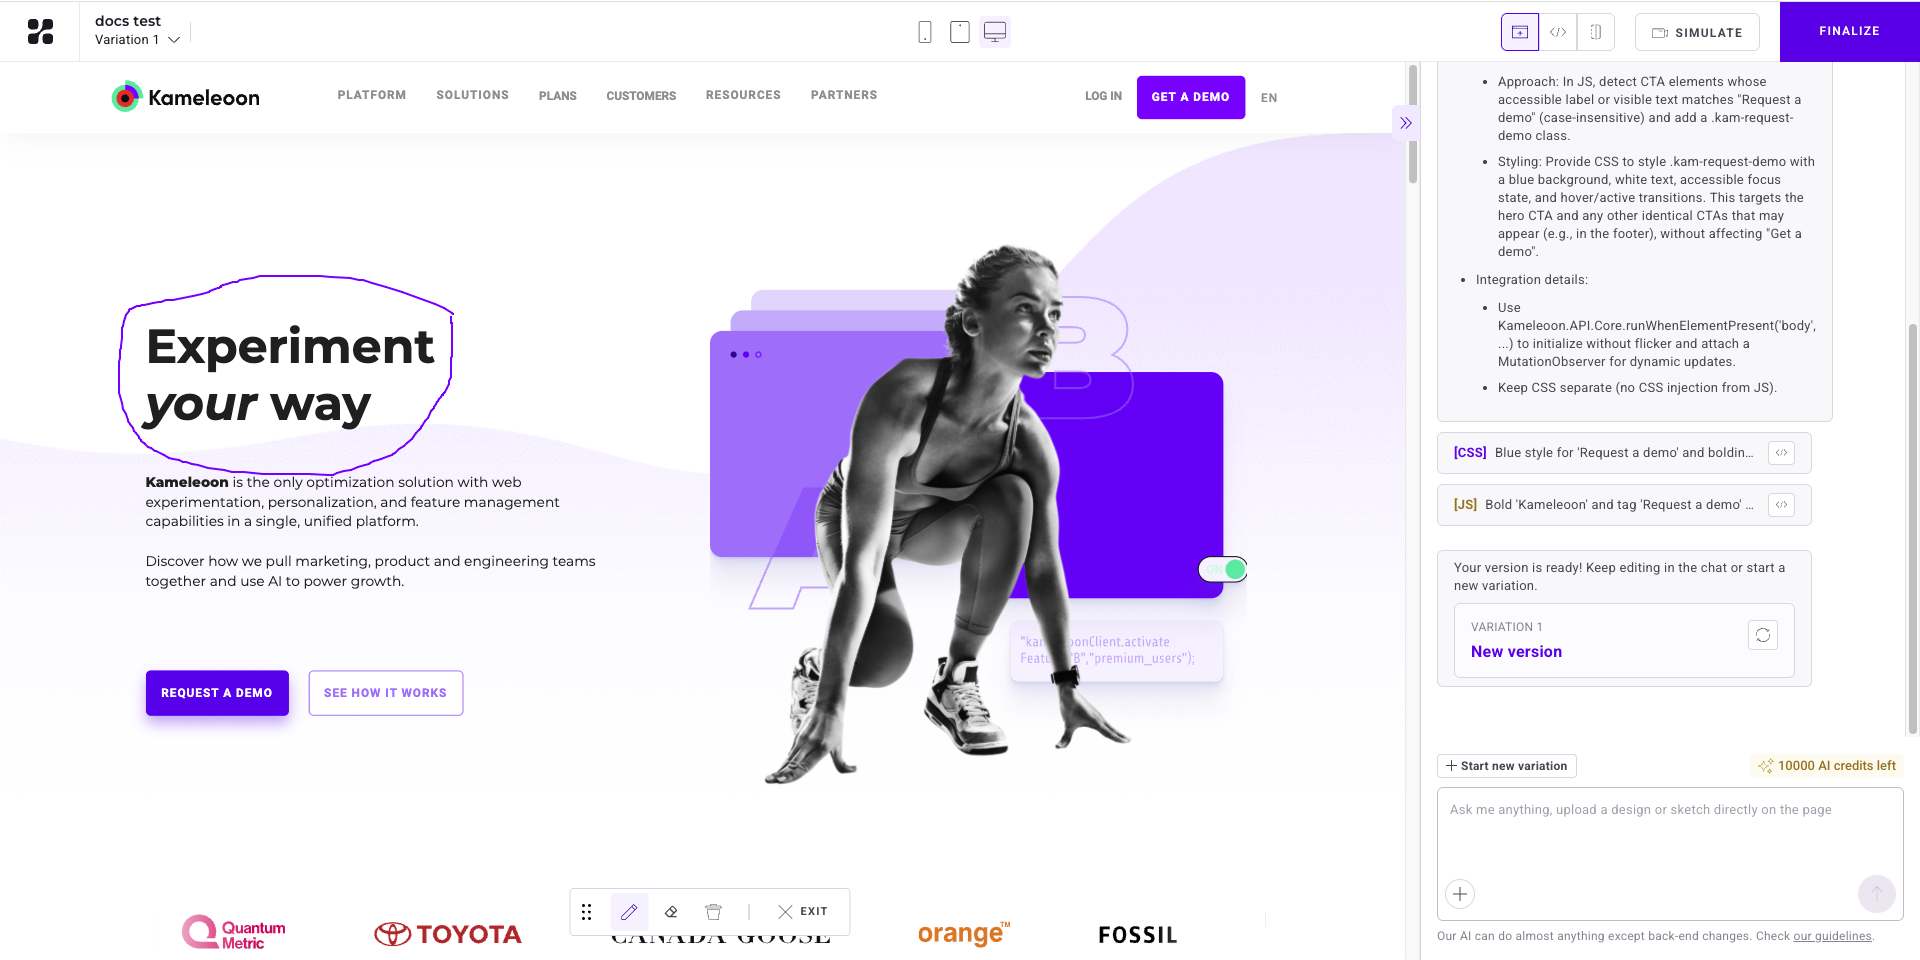
After submission, a checklist appears with detailed steps. You can click each section to get more details about what Kameleoon AI did.
Depending on your prompt, Kameleoon AI may ask for more details or confirmation before applying changes.
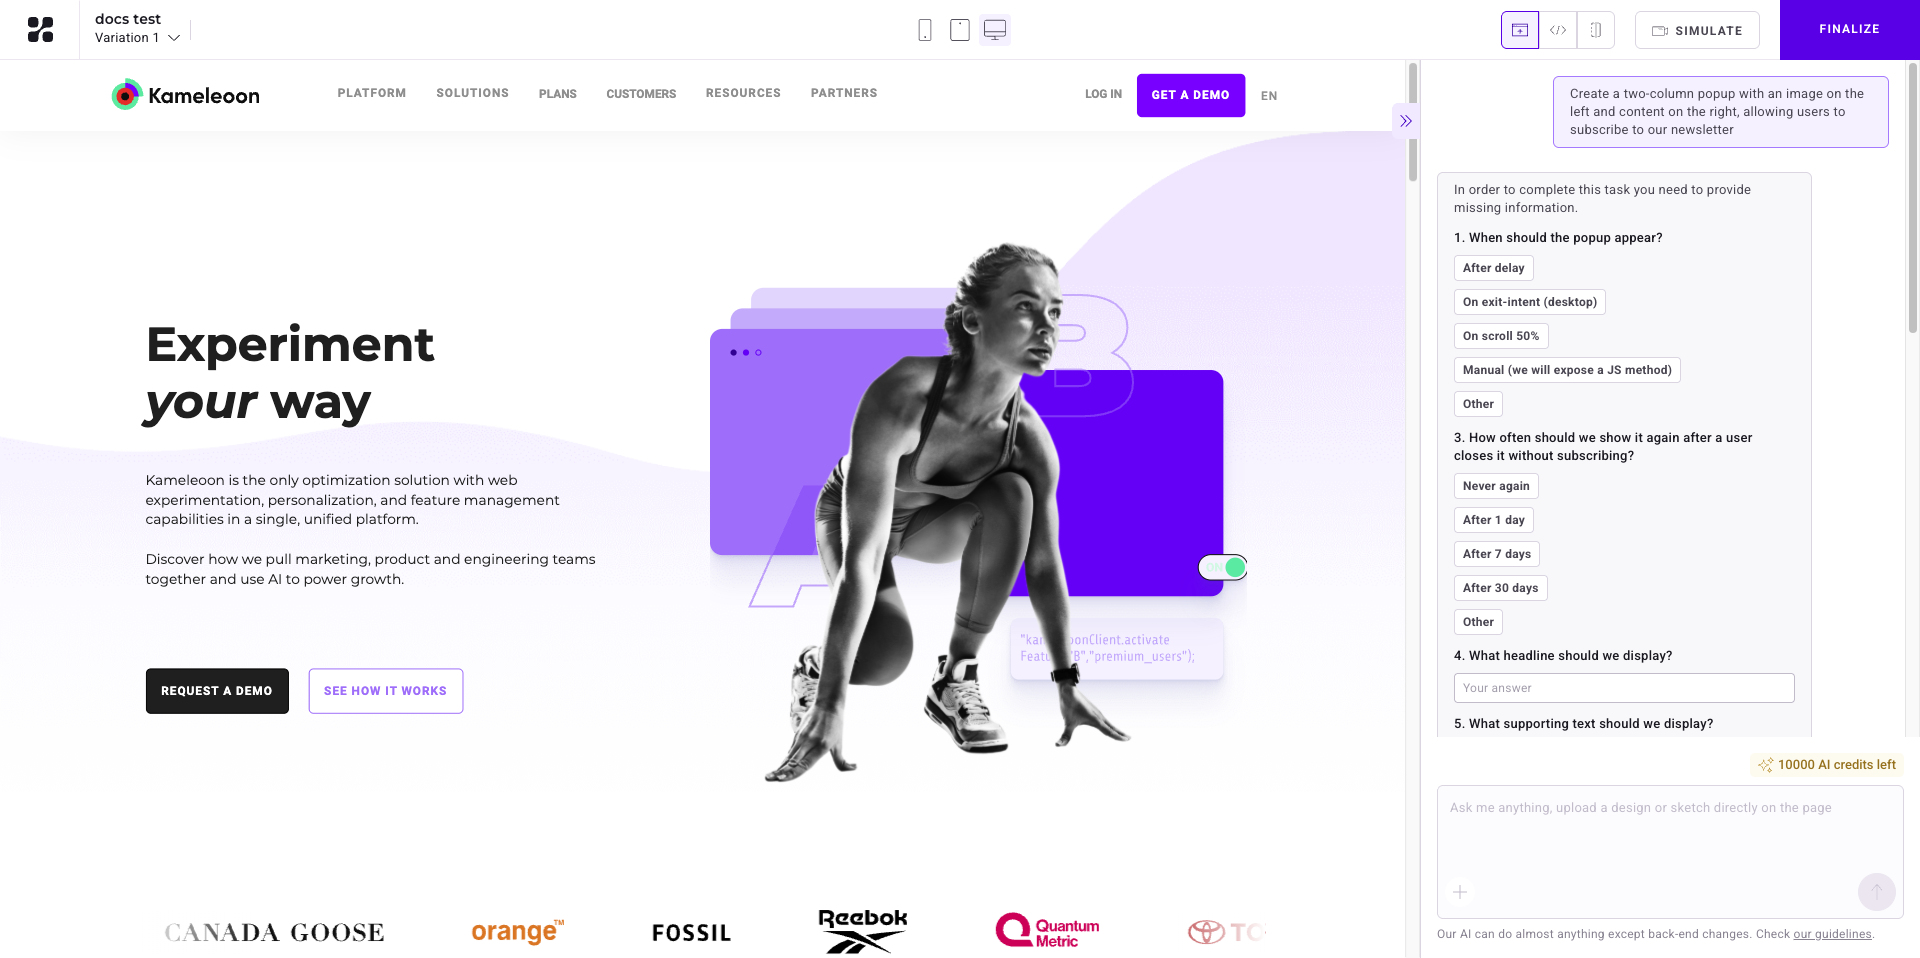
These questions may include which image to use, what the popup’s purpose is, or what kind of content should appear. This refinement process ensures the AI’s generated result matches your intent before any changes are applied.
Additionally, you can draw a sketch directly on your webpage to design a popup, overlay, or any other component. To incorporate a sketch:
- Click + > Draw sketch
- Draw your sketch on the page.
- Prompt the AI to build the element based on your sketch (for example, "Build the popup based on my sketch").
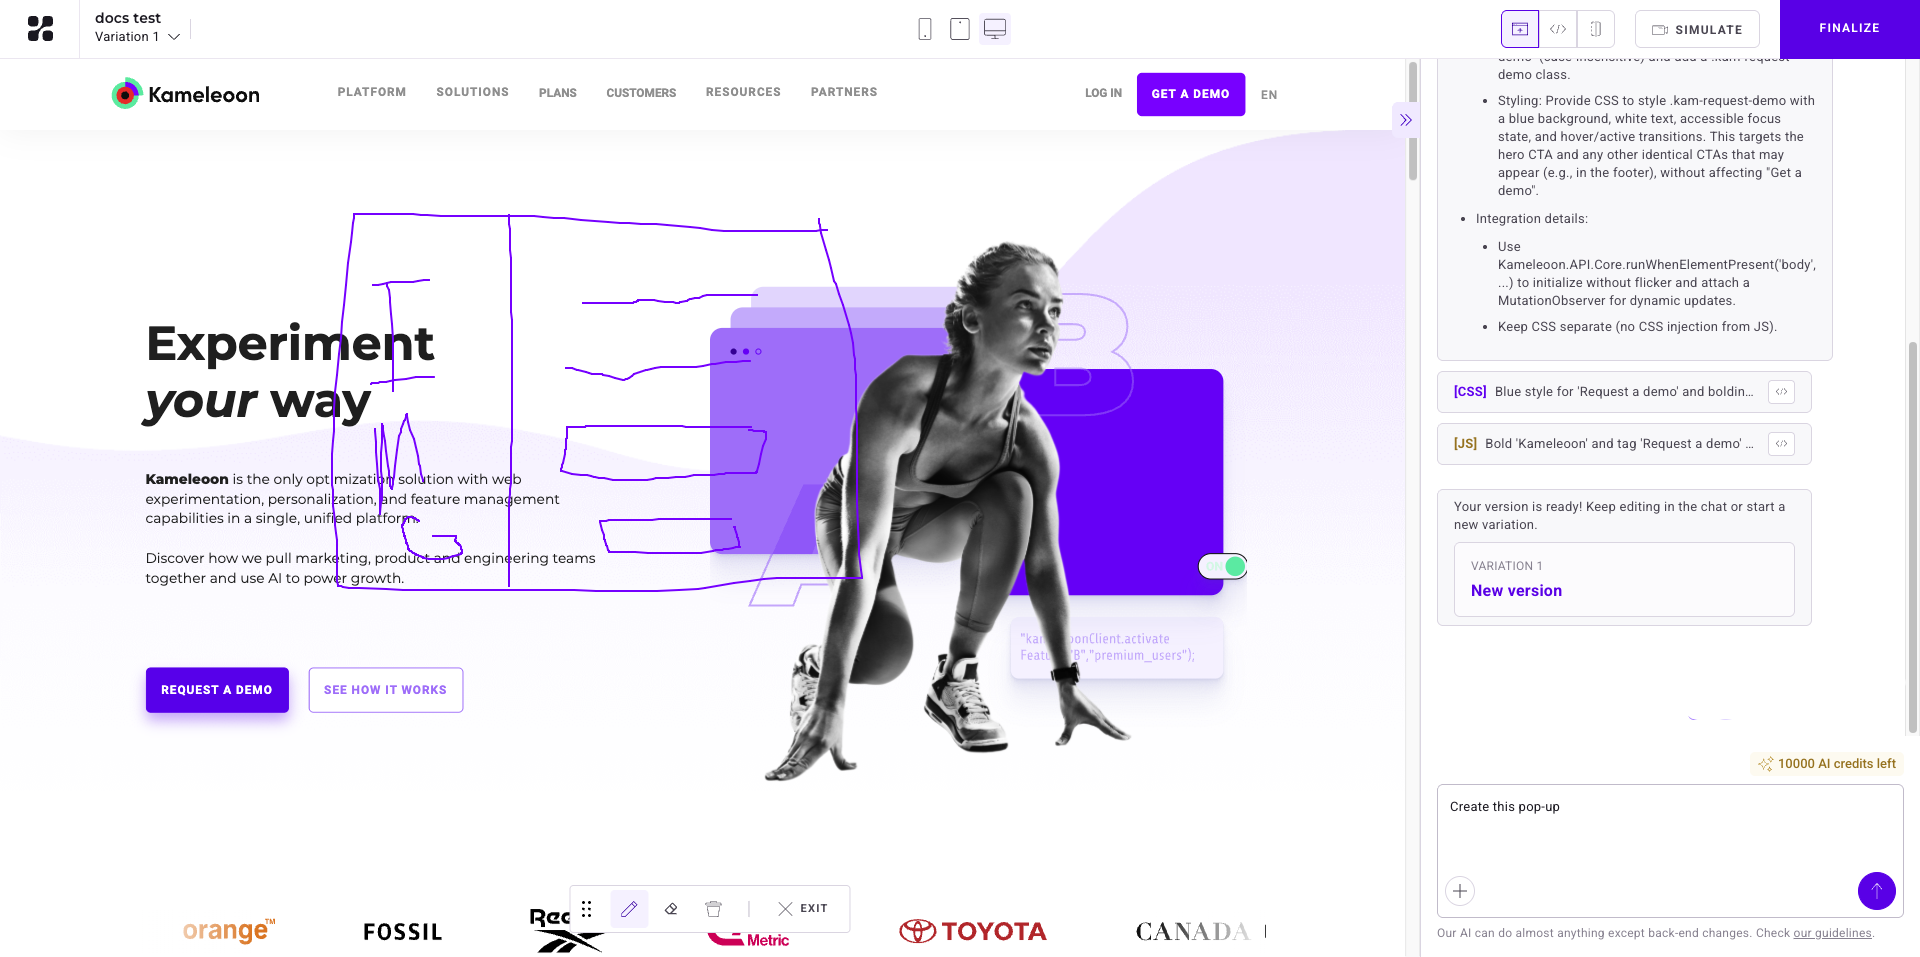
Kameleoon AI will interpret your drawing and come back with any clarifying questions if needed before generating the variation.
Follow best practices and avoid common mistakes to get accurate, visually relevant results every time. Learn how to write effective prompts for prompt-based experiments here.
3. Review and adjust the generated code
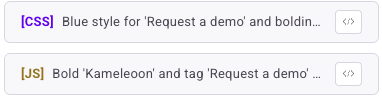
Click the Code icon in the top-right, or click the [CSS] or JS code icons in the generation panel. Click CSS or JS to view and edit the relevant code. Click Edit code to make changes.

If you've prompted several times and multiple versions have been generated for a given variant, you can switch between those variants using the dropdown in the top-left of the code panel.
Once the AI generates content for your experiment, you can refine its output by editing the underlying code.
4. Compare and simulate your variation
The right side of the header includes three buttons:
- Switch to the Code section.
- Switch to the Website display.
- Enter Compare mode.
![]()
Use these options to move between reviewing your code, previewing your page, and visually comparing variations.
Click Simulate (separate from the three viewing modes) to preview the experiment on your site.
Finalize the prompt-based experiment
Once your variation is complete:
- Click Finalize.
- Set your goals, audience targeting, and traffic allocation.
- Launch your experiment
You're ready to experiment, faster than ever, with no code and no delay.